
Do you have a Van you’d like to convert but it doesn’t have the windows you’d like?
In this guide, you’ll find everything you need to know about installing totally DIY windows for your future RV!
Do-It-Yourself Windows: Where to Start?
One of the first steps in truck camouflaging is definitely making sure we have the windows we need for the intended use of our vehicle. In fact, every self-respecting home, even on wheels, has windows that help us ventilate the rooms and let in the sunlight.
If you have or have purchased a vehicle with the windows already set up in the right places, perfect, one less job! If, on the contrary, you end up with a vehicle without windows, as happened to me, don’t worry: as you will understand well on your own during the conversion route, it is always possible to make a few more holes ?
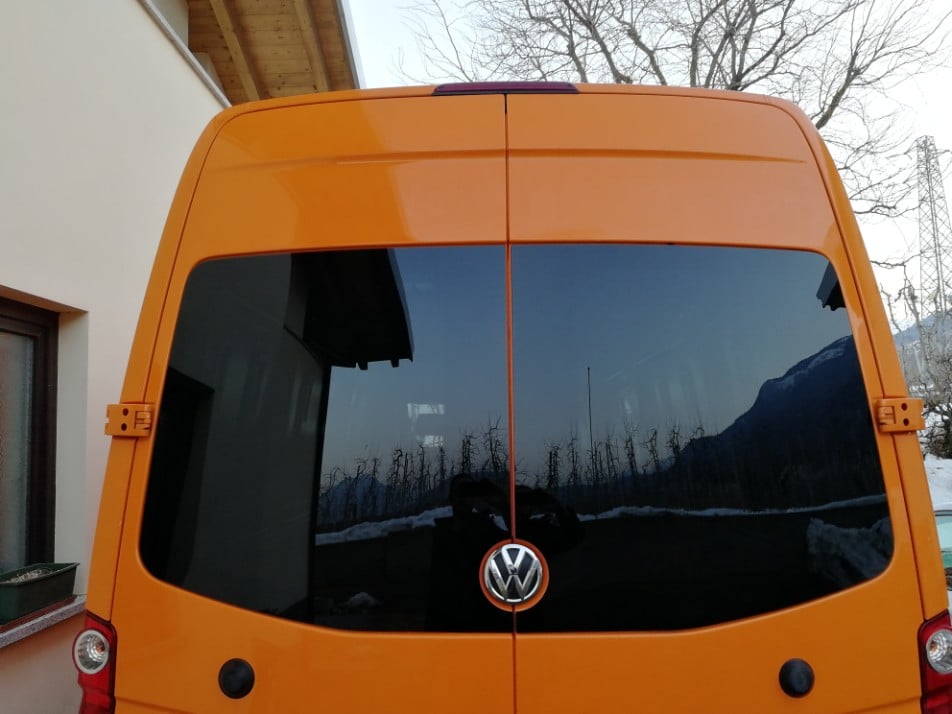
In this article, I’ll walk you through step-by-step how I added three windows to my VW Crafter and how you can do it on your vehicle too!
Happy reading ?
TABLE OF CONTENTS
Campering a Van: Installing Do-It-Yourself Windows
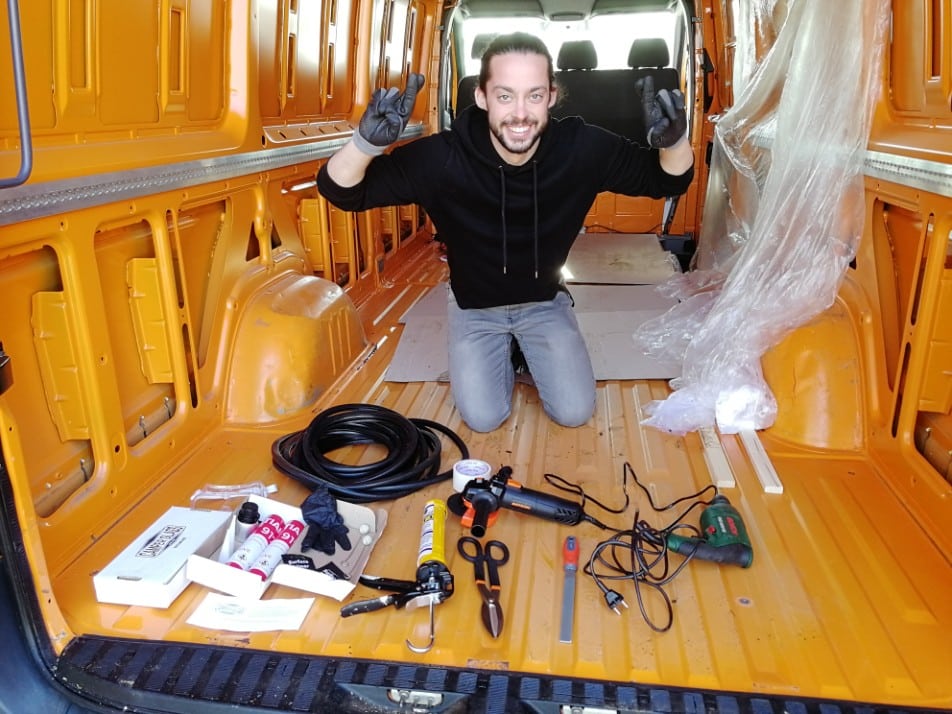
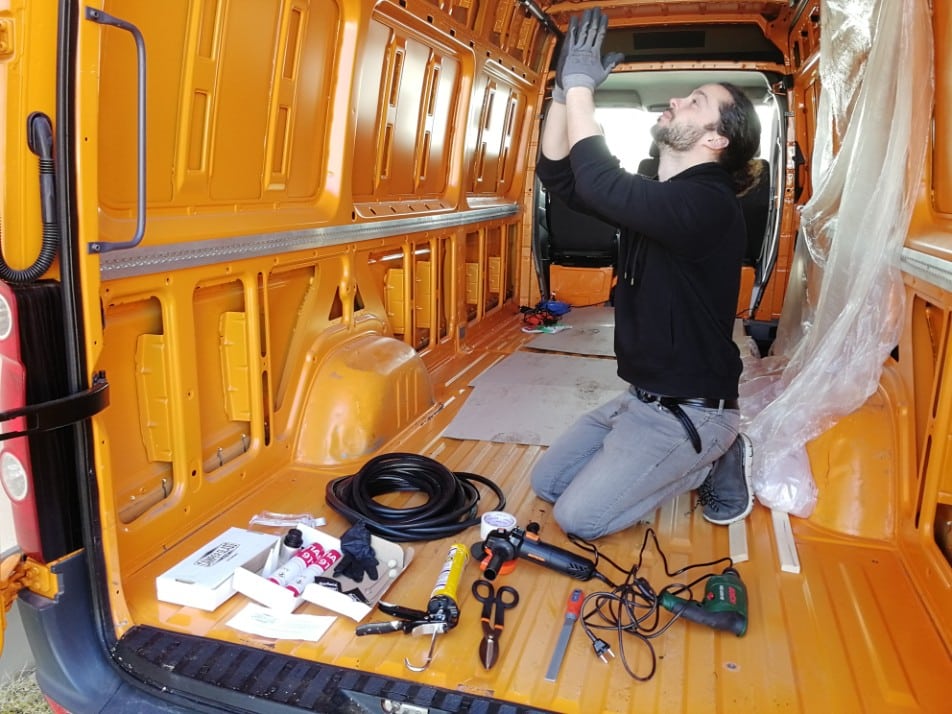
1. Tools you’ll need
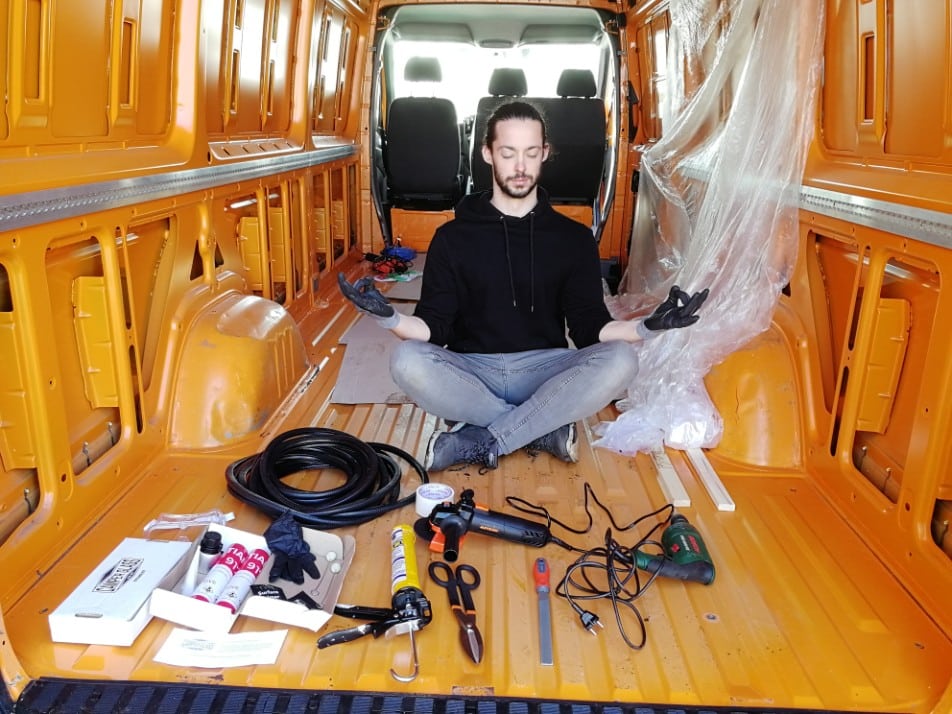
Below you’ll find all the products and tools you’ll presumably need to mount Do-It-Yourself Windows on your future RV.
For your convenience, clicking the image of any product, it will directly open the Amazon page ,if you should also be interested in buying it or just interested in understanding the qualities of the products you need.
For the sake of transparency, I would like to point out that I participate in the Amazon Associate program and that ,for any purchase made through the links on this site, I receive a small commission that I use to support the costs of this blog, obviously at no extra-cost to you 🙂 )

Adhesive Sealant for Crystal
From my experience, one tube of window glue is sufficient.

Primer for Glass/Sheet Metal
Primer is used to prepare surfaces for better adhesion.

Jigsaw
I recommend more than one steel/iron blade, they are easy to break.

Parallel Flat File
The faithful friend always useful whenever you’re cutting metal.

Angle Grinder
To cut thicker metal bars (depends on your vehicle)

Sheet Metal Scissors
Useful for finishing the cut of the hole after the jigsaw

CE windows suitable for your vehicle
CE certification is mandatory if you are aiming for a homologation

U-Trim Rubber Protection
To cover the cutting area and elegantly finish the interior

Car Adhesive Tape
To hold the windows steady long enough for the glue to pull.

Metal bucket saw
To keep drill holes in the sheet metal before cutting with the hacksaw.

Gun for Silicones and Glues
To Apply the Adhesive Glue Needed to Stick the Windows Together
2. Buying the Right Windows for Your Vehicle

2.1 WHAT WINDOWS DO YOU NEED? WHERE CAN YOU FIND THEM?
Before you start with the installation, you will obviously need to get the right windows for your vehicle model. Ask yourself what windows are available for the van you want to convert, what position you prefer them in (depending on how you plan your conversion), and how many you need.
To find the right windows alas, you will have to spend some time for a good research: in Italy the ecosystem for DIY campers is only at the beginning of its development and often it is not as easy as elsewhere to find the materials we need.
If your vehicle is not a Fiat Ducato, from my experience I can tell you that it is not easy to find the right windows, but not impossible either.
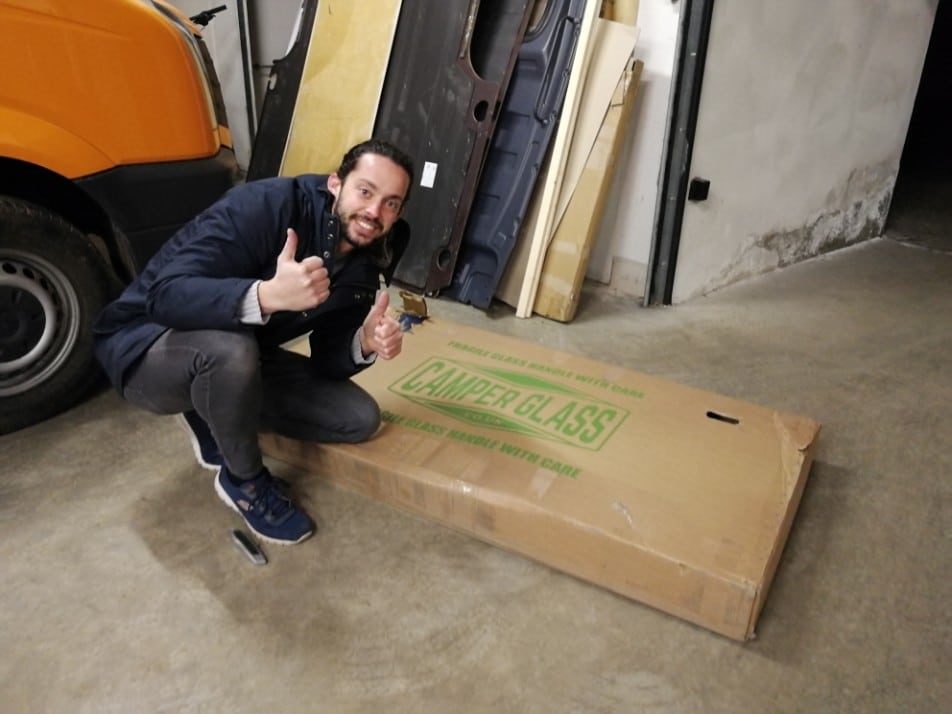
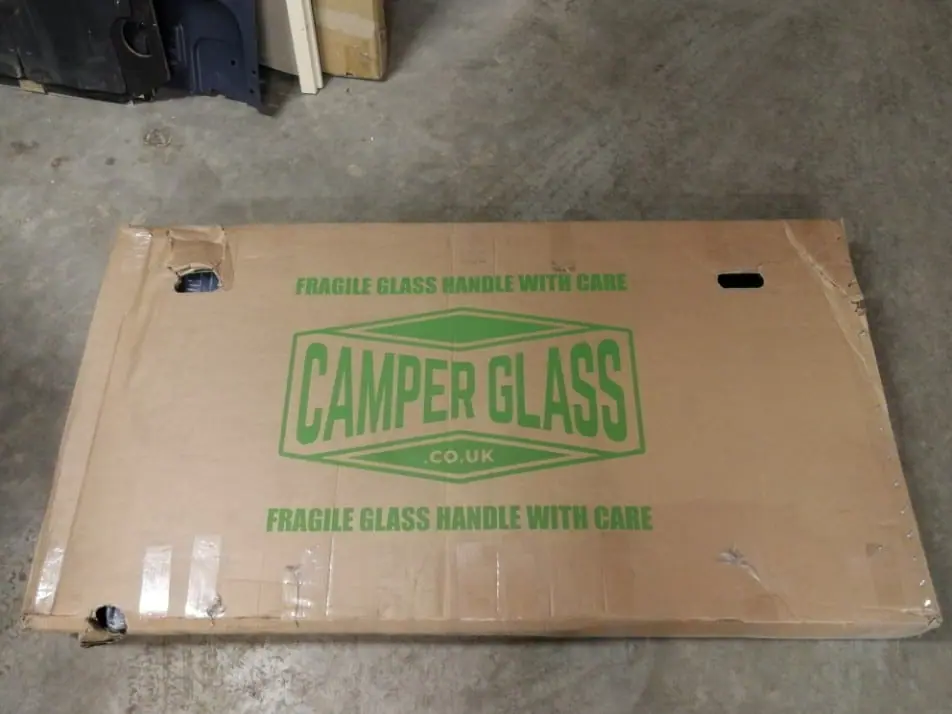
After much searching through dealers and prices, I found this English dealer CamperGlass. I contacted them and they confirmed that they do international mailings. Seeing the very competitive prices and that in addition to the windows they also sold kits for DIY assembly, I decided to trust them and order the windows for my van from them.
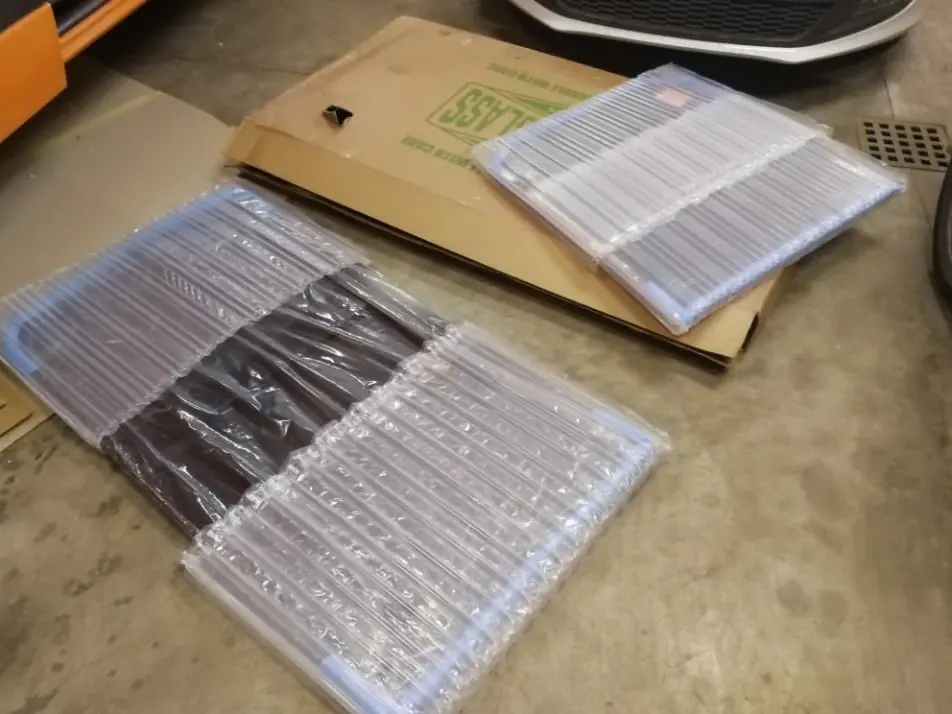
The windows arrived in two weeks, perfectly packaged, CE marked and ready to be installed, I personally found the quality of the windows excellent.
Therefore, if you are also looking for windows for your van, I can recommend Camperglass, they are very serious and have windows for almost any van model (Ford, VW, Ducato, Sprinter etc.). The only downside, is that if you don’t speak English you may have to use Google Translator to answer some emails to arrange shipping 😉
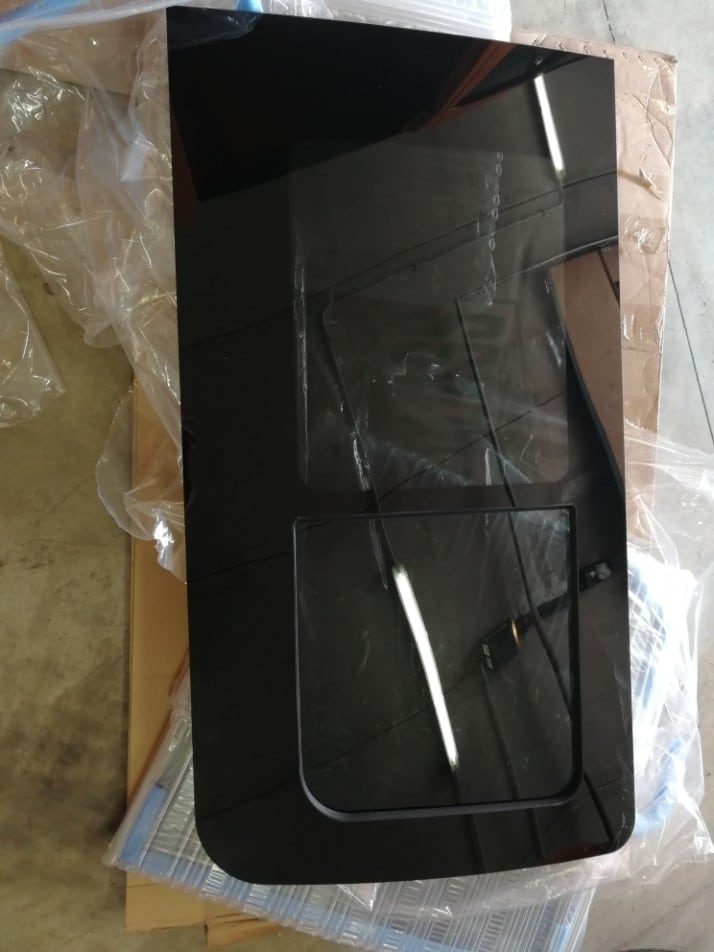
Me I bought two rear windows and a side window for my VW Crafter. I’ll leave you with the photos below to give you an idea of what I received. In addition to the windows I also ordered: U-Trims (the rubbers to put around the windows), Specific Glue for Windshields/Windows and a specific Primer to prepare the surfaces before applying the windows.
If you do not find what you need with Camperglass or you prefer to buy from Italy (saving you the practice of having to pay VAT in the UK and then ask for a refund), I can recommend to have a look onEbay, Subito o CamperFaidaTe.
Once you’ve found your windows, you’ll be ready for the fun part…assembly! 😀
3. Cut the Hole for the Windows of Your Van
Cutting the hole for the windows in the sheet metal, is definitely one of the most fun yet stressful moments in all of camperization.
The thought of cutting up a newly purchased vehicle, even a second-hand one, alone puts a bit of a damper on things. After all, once pierced there’ s no going back!
That said, from my experience I can say that not only is it possible to assemble your own windows, but it’s also possible to do it well being a novice! So, take a deep breath, and read on to find out all the tricks you need to take and tips for doing a bang-up job!
3.1 A GOOD PRAYER FOR EVERYTHING TO GO WELL…and preparation!
Warnings, meditation, prayers … prepare yourself with what you think is best, but finally the big day has arrived and a hole is to do!
Having some anxiety is normal, but don’t freak out – put things in perspective!
All you’re going to do is add a window to your van and I swear, if I could do it without any prior knowledge you can certainly do it too!
That said, before you start cutting, it’s important to take a few precautions.
3.2 identify the area to be cut, and protect the rest
Usually most vans already have the shape of the windows pre-installed in the sheet metal, and from inside the vehicle you can perfectly distinguish the area to be cut.
In the case of my VW Crafter, all I had to do was cut following the line already on the doors of my van.


Before starting to cut it is very important to check over and over again that the cutting area is correct for the windows in our possession (after all ,a hole is forever, like a diamond 😉 ).
To verify the correct hole size just do a quick Google or Youtube search on your van model. Similarly, leaning the crystal you bought against the wall of the van, it will immediately jump out at you what the correct area to cut is.
Once you have identified and marked the cutting area, I recommend that you protect the surrounding areas with a simple painter’s cloth to prevent splinters or sparks from scratching or ruining the rest of the vehicle.
As a general advice, useful throughout the conversion of your van, I want to advise you to prevent any mess and always protect the parts you are not working on (spread a little glue, take in with a tool, scratch something by accident etc.. It happens and will always happen, but trying to predict possible damage it can be done ?
3.3 Perform Cutting: grinder, hole saw and hacksaw
Depending on the vehicle you’re planning to convert, the sheet metal will be easier to cut and you may find structural aluminum supports in your cutting area (as was the case with my Crafter, photo below). To get rid of thicker supports, what I have found to be most suitable is the use of a angle grinder. If you don’t already have one, I recommend getting one because it’s a tool you’ll find yourself using over and over again throughout your build.
I found it easy to cut the metal brackets in 4 different places (marked with scotch tape) and then simply pry with a flat fileto pull them away from the wall. If this is your first time using a grinder, I recommend this video tutorials to learn how to assemble and use them safely. Also, don’t forget to use safety glasses.


Once the thicker supports are removed, the outer sheet metal can be cut fairly easily with a jigsaw metal saw blade. Before cutting with a jigsaw though, there are some precautions to take.
For start cutting, you’ll need a large enough hole in which to insert the hacksaw blade. These holes are very easy to make using a wide-tip drill, or better yet, a holesaw for metals. The hole saw I’ve noticed makes it much easier to get to the corners or at any rate those non-linear parts of the windows.
Take a deep breath, and let’s go – it’s time for your first hole!


Once you’ve done the first hole, you’ll see how much easier it will be to do the next ones lightly, it will even be fun 😉
Once you have the holes you need to insert the hacksaw blade, before cutting, cover the base of the hacksaw and all sharp corners of the tool with a soft material and scotch tape to make it easier tocut. avoid unintentional scratches to the sheet metal: it is easy for the blade to jump out of the guide from time to time and hit the sheet metal.
At the same time, having to cut curved and irregular areas, sometimes the body of the hacksaw will bump and vibrate against the sheet metal. By wrapping the metal parts of the hacksaw with softer materials, you will be able to avoid unnecessary scratches to the sheet metal (I discovered this late unfortunately…. 🙁 ).
Again, use safety goggles! The grinder produces sparks, while with the hacksaw chunks of metal can go off in all directions. Personally, I recommend that you wear glasses whenever you use these tools to cut metal.
Once you’ve taken the appropriate precautions, it’s time to cut! Steady hand, calm and have fun!


4. Cut the Hole for the Windows of Your Van
If you have done everything correct so far, your van will already look much more ventilated than before 😉
Now it’s time to prepare the newly made hole before applying the windows.
4.1 A smooth, linear edge
If you have done everything correct so far, your van will already look much more ventilated than before 😉
Now it’s time to prepare the newly made hole before applying the windows.
First, it is important to make the walls of the hole as smooth and linear as possible, without waves. This can be done by touching up the edges with the jigsaw, or for minor differences in height with sheet metal scissors or simply with our faithful flat file.
Once the shape of the window is sufficiently straight, it’s important to make all the edges flatter with the file, so that they are rounded and not extremely sharp. It takes a little elbow grease but it’s important to file the edges so the primer adheres well in the next step and to avoid rust in the future.


4.2 Applying Primer or Rust Remover
Whenever you cut a metal part of your van, it’s important to file it down and treat it with rust inhibitor and paint.
This process is done to prevent the live metal from being affected by rust in the future (one of the most common problems in DIY camper vans).
In our case, we applied the same black primer to the edge of the hole that we later used to prepare the bonding area, as recommended by the manufacturer (Camperglass).
If you don’t have a suitable anti-rust primer, you can always use an anti-rust for sheet metal and once dry, a metal paint.


4.3 Apply U-Trim to finish the edge
Once the rustproofing is dry and the edge nice and straight, it will be time to cover the entire cutting area with the U-Trim, a U-shaped piece of rubber made specifically for finishing the window outline.
Depending on your van you will need a slightly wider or narrower piece of U-Trim. In the case of my VW Crafter, a 1.2cm diameter piece worked great.


To ensure good adhesion, bend the rubber piece back slightly as you thread it over the metal edges, this will make spreading much easier and also quicker. Once you’ve covered the entire edge of the window, use your fists to make sure all the perimeter is firmly in place.
5. Glueing the Windows: Primer, Crystal Glue and Suitable Scotch
5.1 Apply Primer to Bonding Area
At this point we’re almost at the end of the first step to convert our van: the windows!
Before applying the glue however, it is good to clean well the surfaces of our vehicle with alcohol, and use a primer to prepare the surfaces so that the glue will have a stronger grip.
To do a painstaking job, I recommend applying primer to both the sheet metal of the vehicle and the window surface that will be in contact with the glue. Once the primer is dry (it takes a few minutes to dry), we’ll be ready to put on the glue.


5.2 Paste Windows
The windshield glue is very strong, and you do not need to put a lot to hold the windows (we have more than exaggerated, a coachman seeing the photos told us that it was not necessary), a continuous line is more than enough.
Putting the glue is definitely the most delicate step of the whole process of installing windows and must be done well to avoid water infiltration. These are some tips I can leave from my experience:
- The line of glue should be continuous around the entire perimeter of the window (if there are holes, water will seep in)
- No need to make double or parallel lines, one done well is more than enough
- Spread the glue so that it is all at the same level, without lumps or raised “piles”.
- the glue does not dry immediately, so it is good to take the time to spread it well


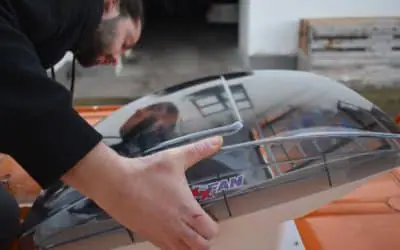
Once the glue is well spread, it will be time to “glue the windows”. Depending on the size of the window you are going to install, I can recommend having one or two people help you.
Window dressing is an extremely delicate moment, and four eyes (or six!) are better than two. Once you are sure of the location, lean the window against the wall of the vehicle and press down hard.


At this point it is FUNDAMENTAL to have some tape for vehicles with which to lock the windows in place until the glue is completely dry.
A dispassionate advice is not to skimp on the tape, the windows must be totally blocked because you have to avoid that their weight drags the glue: they must not move even a few millimeters!
Once the window and tape are applied, all that’s left to do is wait 12-24 hours.

After the wait, you can finally take off the scotch and pop open a beer!
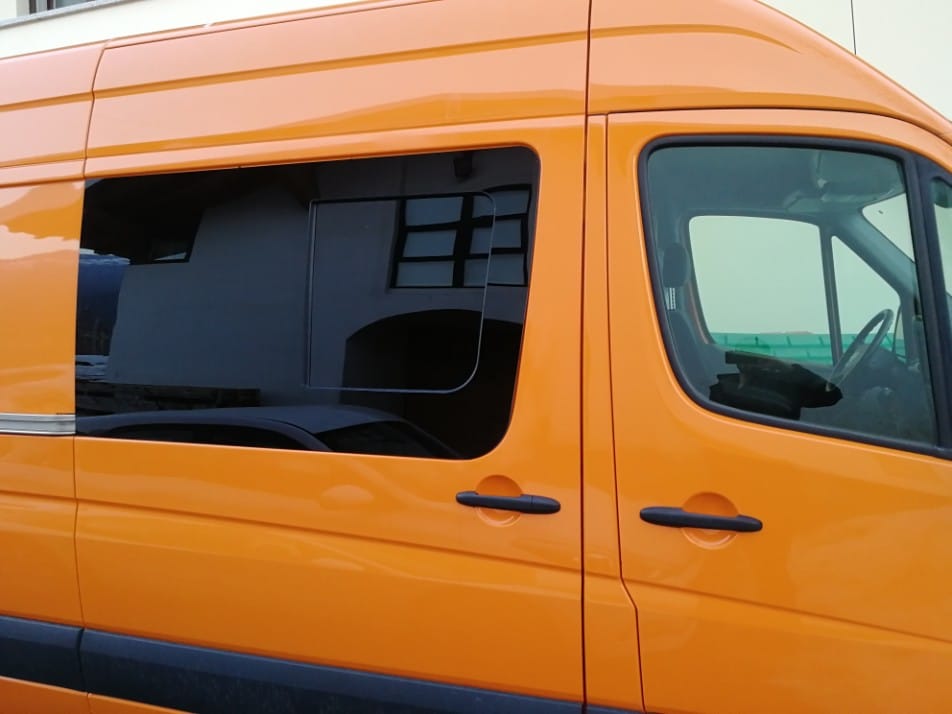
If you have done all the steps properly, you can finally admire your new windows! Personally, for a neophyte, seeing the first windows assembled do-it-yourself is a great thrill.
6. Conclusion and Practical Advice
This was the entire process by which I added three windows to my VW Crafter.
Three practical tipsI can give you before you start are:
- Get someone to help you: a friend, a neighbor, a family member… installing new windows is one of the few jobs during a van conversion that is very difficult, if not impossible, to do totally alone. The windows are heavy, the pieces of sheet metal are heavy and falling can risk scratching and damaging the bodywork.
- Be sure of what you’re doing: before you start cutting and drilling get informed, one, five, ten times! If you didn’t find all the information you need in this article write questions or look for more information elsewhere. If you don’t feel like doing this Do-It-Yourself job, there’s nothing wrong with enlisting the help of a professional, the important thing is to do it right.
- Be prepared to spend 2-3 hours per window: drilling, cutting, filing, prepping and gluing windows takes a lot of time, especially if it’s your first time. It took us a full day to fit three windows with 4 people.
Below I leave you a video in English of Camperglass that shows the entire assembly of a window from start to finish.
If you have any other questions, please feel free to contact me in the comments. Have a great time working on your project!
Thanks for reading and see you at the next guide🙂
BEFORE YOU GO, CAN I ASK YOU FOR SOME FEEDBACK?
Writing detailed articles like this takesa lot of time and effort..
If you liked it, can I ask you to leave me a feedback message in the comments at the bottom of the page?
For a content-creator, knowing that you are being read and that your efforts are useful to someone is the best motivation to keep writing and doing better 🙂
Let me know what you liked or what you think could be added.
If you’d like, you can also share the article to help other people find it!
Thanks for the help 🙂

Read the Van Conversion Guides
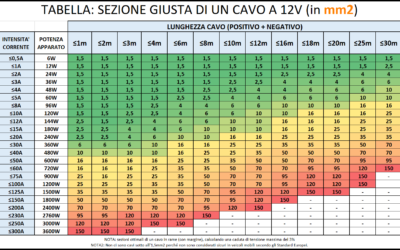
How to Calculate the Right Section of 12V Cables | EASY GUIDE
An undersized cable does not carry enough current. A cable that is too undersized can lead to a fire. An oversized cable, on the other hand, simply costs more and is a waste of money. Are you wondering what is the logicfor choosing one section of cable over...

Bluetti vs Ecoflow | Which is the Best Portable Power Station for RV/Vanlife?
The Portable Power Station is an increasingly used accessory on camper vans and RVs, but when does it really make sense to purchase and own or install one? In this article we try to shed some light on how these systems work, the best options on the market, and the...

Van Conversion DIY: How Much Does It Costs? | My Experience
How much does it cost an entirely DIY van to campervan conversion? The queen of all questions... In this article, I want to show you all the costs of my conversion from start to finish, so that you too can get an idea of what it might cost! ...
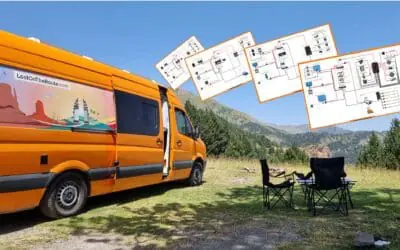
Van Electrical Diagrams for your DIY Project – Ready to Install
The Electrical System is often one of the most complicated steps in a DIY van conversion. How much energy is needed? What apparatus/devices to purchase? How to connect them? How much would it cost? These are all doubts and questions that normally everyone finds...

Van Interior Conversion: Best DIY Ideas for your Project!
The Interior Outfitting of a DIY converted van is both an aesthetic and structural choice. In this article, you will find useful information and inspiration ideas for customizing the Walls, the Ceiling, and the Floor of your Van! DIY CAMPERVAN SET-UP:...

Kitchen for Camper | Best DIY Ideas for your Van Conversion
Cooking in Camper is one of those things, that makes you feel at home wherever you are! Gas, Diesel or Electric Stove? What equipment and accessories you need on the Road? How much space do you need? How to assemble the kitchen in your Camper? In this article you will...

The Best Fridge for Your Campervan – Which One to Choose?
Buying a trivalent or compressor RV refrigerator? Horizontal or vertical? 12V or 110/220V? In this article you will find all the information you need to choose the best fridge for Your Van, tailored to your Needs! 🙂 THE REFRIGERATOR IN THE VAN:...
Van Conversion: How to Build a DIY Bed for your Camper Van
A Camper is not a Camper if it does not have a bed. Where to Sleep and... Dream! In this Guide you can find the inspiration you need for creating a DIY Bed in Your Campervan, And I'll show you step by step how I built a Complete Bed/Dinette on my VW Crafter....
DIY Camper Bathroom: How to Self-Build a Toilet
If you are Campering a Van you surely must have wondered: How does the Bathroom in a Motorhome work? In this Guide I show you the various types of Bathrooms on the market, I explain how they work, and I show you how you can Build yourself an entirely...
Best 12V Fan for RV | DIY Installation Guide | Van Conversion
A Roof Fan helps keep your Vehicle's humidity under control and change stale air. In this guide you will find everything you need to know about mounting a Maxxfan Deluxe fan on the roof of YOUR van. ROOF FAN: WHAT IS IT FOR? Keeping an RV's...
How to Build a Shower in a Do-It-Yourself Camper
A Shower in the RV for some people is not necessary, for others it is a real necessity to be totally independent! In this guide I'll tell you how I built the shower of my converted van entirely Do-It-Yourself! INSTALLING A SHOWER IN A...
Complete Guide and Electrical Scheme for your D-I-Y Van Conversion
You dream of transforming your Campervan DIY and have never touched an electrical cable before? Or do you want to implement some changes to your Factory RV? In this guide you will find EVERYTHING (absolutely EVERYTHING!) you need to know to create the perfect DIY...


0 Comments