
A Roof Fan helps keep your Vehicle’s humidity under control and change stale air.
In this guide you will find everything you need to know about mounting a Maxxfan Deluxe fan on the roof of YOUR van.
ROOF FAN: WHAT IS IT FOR?
Keeping an RV’s climate under control is not a simple matter.
At the end of the day, no matter how much we may decorate and elaborate our mobile homes, a van/RV is still basically a metal box that from time to time has to deal with different weather situations: temperature changes, sun, rain, wind and whatever else the road might bring in front of us.
Metal has good characteristics in some areas (hard, durable etc.) but leaves much to be desired in others: one of these is temperature and humidity management.
In fact, metal conducts heat all too well (when it is hot outside, it immediately heats up, and vice versa when it is cold, it immediately turns icy) and does not allow vapor to transpire, trapping moist air that thus risks turning into condensation and moisture.
In addition to the windows, the other weapon we can use in our DIY camper vans to combat humidity is definitely ceiling fans: fans that pull fresh air into the interior of the vehicle, blow out stale air and generally help to ventilate the interior and create a constant air exchange.
In this guide, I’ll briefly explain why I chose to install a Maxxfan Deluxe fan on my VW Crafter, and then I’ll show you step-by-step the entire installation process.
Happy reading!!! 😀
TABLE OF CONTENTS
Van Conversion: Mounting a Fan on the Roof of Your Campervan

Do you want to support LostOnTheRoute?
All of the Guides I publish on this blog are free and usable by anyone because I personally am a firm believer that information should always be a public good and accessible by anyone and not a commodity to be purchased. Sharing is caring 😉
That said, maintaining a great blog full of detailed articles takes a lot of time, a lot of beer (of inspiration ahah) and most importantly costs sometimes not so obvious.
If you would be interested in helping with the costs of the blog, you can consider purchasing any of the recommended products through the links on the page or in the Amazon storefront. LostOnTheRoute in fact participates in the AmazonAffiliate program, and for every product purchased through the links, I receive a small percentage,obviously at no extra cost to you🙂
Happy reading and good work!:) 😀
Dani

Check Out All DIY Van/RV Products of tested quality, in one place.
1. Choosing the Right Fan for Your Needs

1.1 The role of a ceiling fan
The role of a ceiling fan in an RV is to remove hot air, bring in fresh air, eliminate kitchen odors, and keep the interior livable and free of excessive humidity.
Simply put, good ventilation is the key to making your home on wheels livable and enjoyable, so it is important to make sure you pay close attention to this aspect of the conversion.
After all, having a bed, bathroom, kitchen, and perhaps two people living in an otherwise very confined space is not easy and requires a lot of ventilation to avoid unpleasant odors and condensation that could turn your vanlife experience into hell.
Now that we understand the importance of a fan, let’s take a look together at the best fan alternatives on the market for DIY Campervans!
1.2 The best RV fan options.
After long research on a wide variety of blogs and forums, skimming a wide variety of sites and comparing the technical characteristics of different products, I haveconcludedn that the options on the market for 12V fans for a camper van are essentially three: the TurboVent Flame, the Dometic FanTastic Vent and the Maxxfan Deluxe.
Below you will find a simple comparison of their characteristics:

TurboVent Flame
Price Range (200 – 250 Euro)
3 Power Levels
Power Max. 36 watts
Air Cycle In and Out
Mosquito net
Standard Thermostat
Manual Lid Opening
Closed with Rain

Dometic FanTastic Vent
Price Range (320 – 400 Euro)
3 Power Levels
Power Max. 36 watts
Air Cycle In and Out
Mosquito net
Adjustable Thermostat
Manual Lid Opening
Closed with Rain

Maxxfan Deluxe
Price Range (350 – 400 Euro)
10 Power Levels
Power Max. 60 watts
Air Cycle In and Out
Mosquito net
Adjustable Thermostat
Automatic Lid Opening
The Lid Can Stay Open Even in the Rain
Convenient Remote Control
All three fans have an almost identical size and indispensable features in common:
- Two-way intake (allowing air to enter and exit)
- Integrated mosquito net
- Temperature Control Thermostat
- 12V circuit (the voltage of batteries normally used in vehicles)
Mounting is similar for all three fan options and in general they are all solid alternatives for any type of camper project.
The fan Flame Turbovent is the “budget” option, best for those who want good quality at a lower price.
Personally, I chose to mount a Maxxfan Deluxe (and it is the model you will see me installing in the coming photos) because it is slightly more powerful than the others and for the advantage of being able to use it even when it rains, without having the thought that it might rain inside the RV.
Twelve months later, I can say that I am fully satisfied with my choice: the fan is quiet, convenient to turn on, easy to adjust, and you almost forget you have it. Never had a single problem with it 😀
In the next part of the article, I’ll show you step-by-step how to mount a ceiling fan on your camper van with some valuable tips for doing a bang-up job!
Let’s cut the chit-chat and get started!

2. Tools You’ll Need to Install Your Camper’s Fan.
Below you will find all the products and tools you will presumably need to mount a Maxxfan on your DIY Campervan.
For your convenience, clicking the image of any product will directly open the Amazon page should you also be interested in buying it or just be interested in understanding the qualities of the products you need or checking prices.
For the sake of transparency note: I participate in the Amazon Associate program and for any purchase made through the links on this site, I receive a small commission that I use to support the costs of this blog, obviously at no extra cost to you 🙂 ) All products that I recommend are the ones I personally used too 🙂

Tape Butyl (30-50mm)
A tape to fill and seal cracks making them waterproof.

Hole Saw for Metal Sheet
To drill holes in the sheet metal before cutting with the jigsaw.

Jigsaw
I recommend more than one steel/iron blade, they are easy to break.

Parallel Flat File
The faithful friend always useful whenever you’re cutting metal.

Drill / Screwdriver
To pierce the sheet metal first, and screw in the screws later

Maxxfan and Mounting Kit
Includes fan, plastic stands, screws and remote control.

Sikaflex 521 UV Resistant
The #1 Adhesive Glue and Sealant for DIY Camper Vehicles

Gun for Silicones and Glues
To Apply the Adhesive Glue Needed to Seal the Fan
3. Cut the Hole for the Fan
After having mounted the windows on our van, the fan was my second major project.
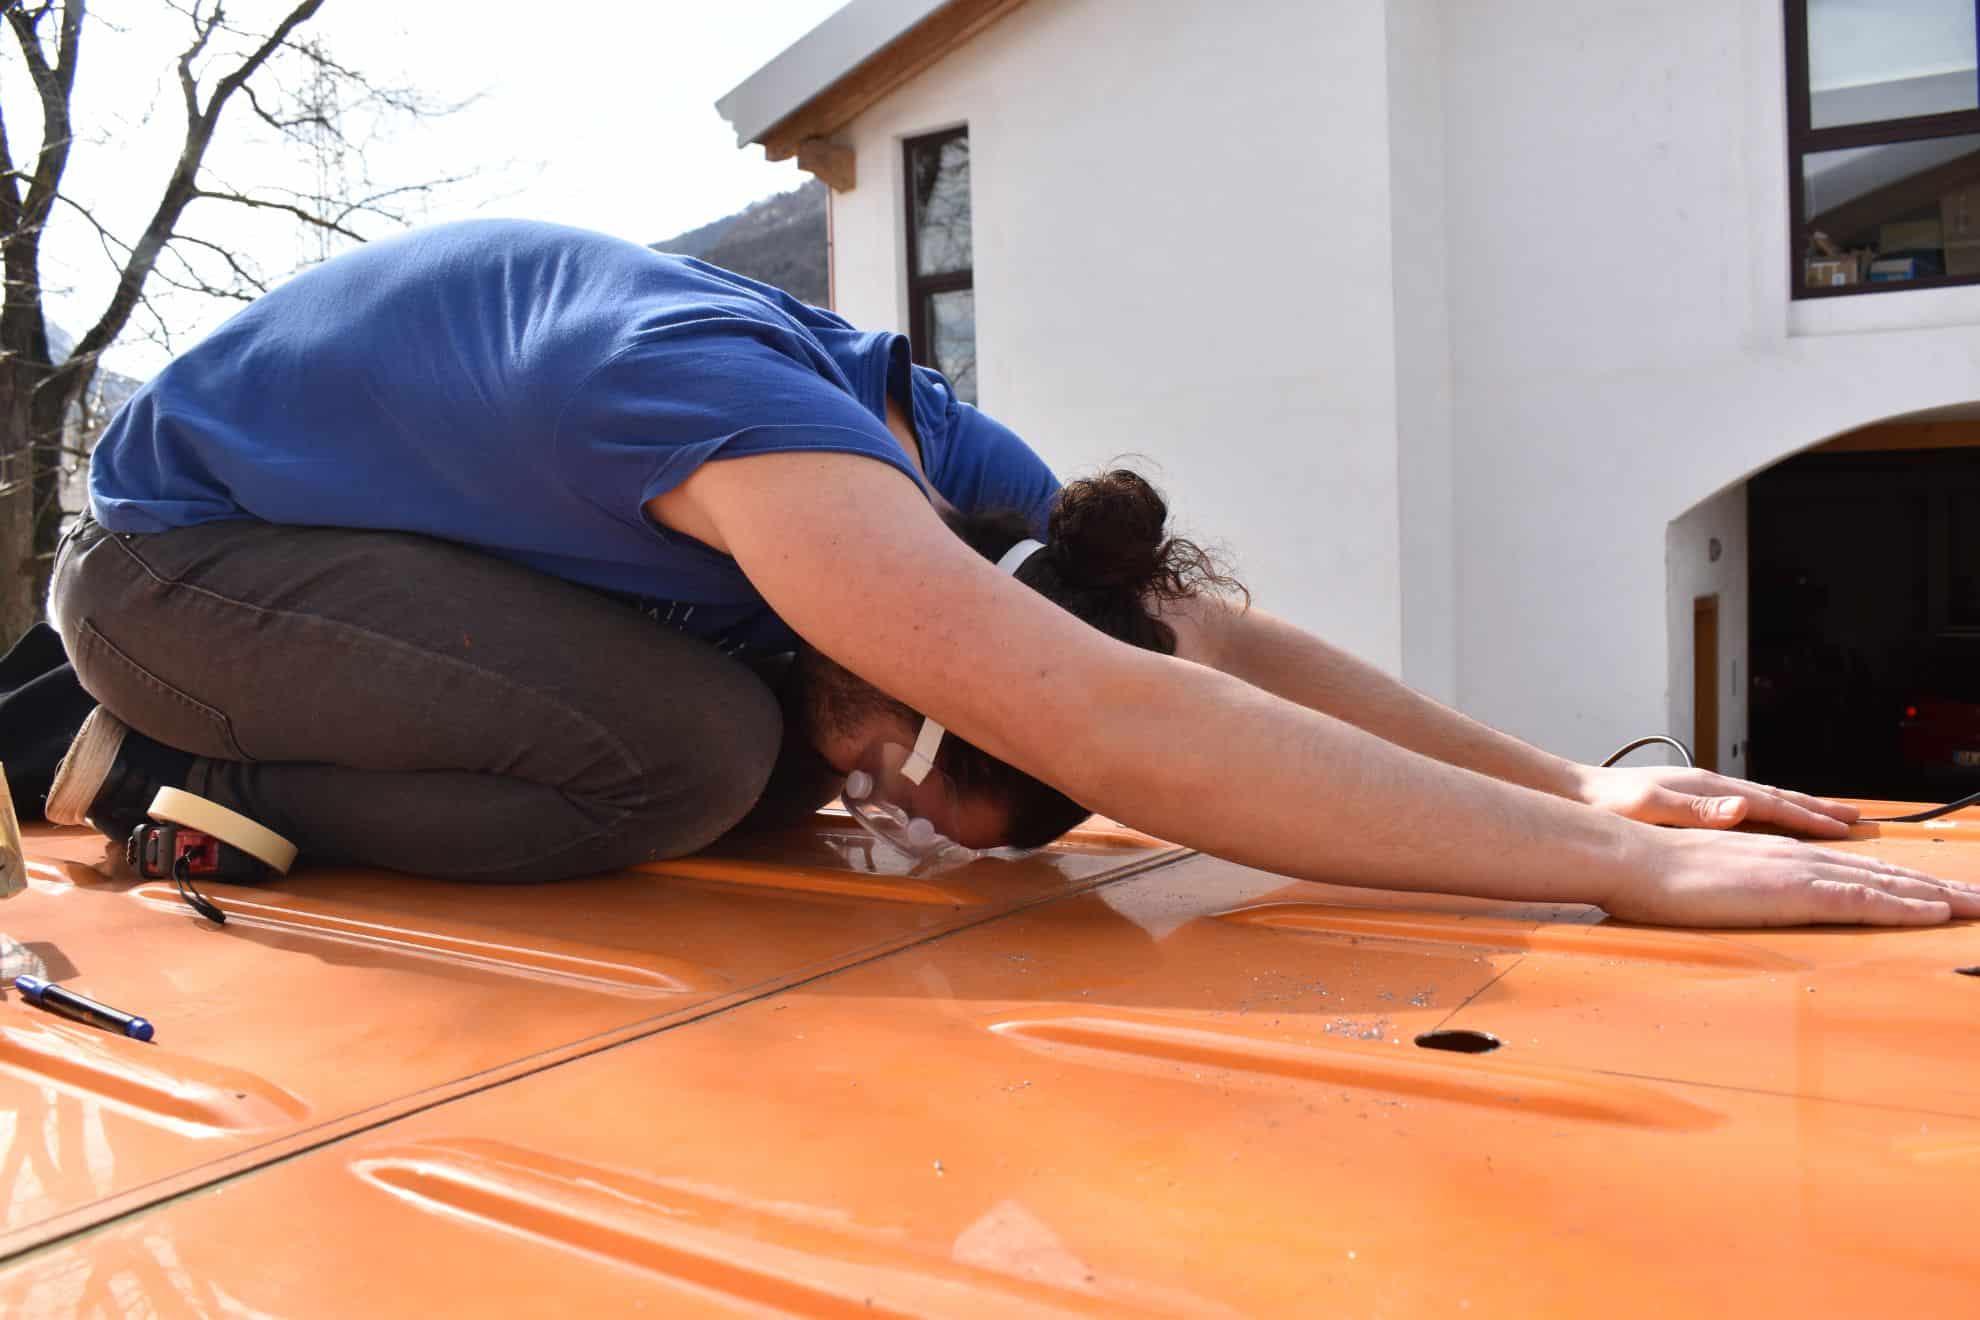
More hole, and more prayers to the gods of the world! (side photo :))
If punching holes in the walls of my van kept me on my toes, the same was true for the roof: after all, once you’ve punched a hole, there’s no going back!
Therefore, before cutting it is important (as well as to pay homage to the gods) to think before doing!
I know cutting the roof of your vehicle can be scary, but trust me, using your head it is not a difficult process and you will surely get a great job done with little effort!

3.1 Identify the best location for your RV fan
The job of the ceiling fan is to bring fresh air into your van and remove damp, stale air.
For this to happen, it is important to think about how the airflow will move with the fan running.
In my case, my major thoughts were to eliminate the fumes/odors from the kitchen and to have fresh air directly into the living/bed area located at the bottom of my van.
Therefore, I decided to install the fan above the bed in order to cool the area with air from outside and, at the same time, so that the air current being created would “push” the condensation and odors forming above the induction plate out the nearby window.
Here I leave you a small self-made drawing of my RV floor plan to give you an idea (airflow in light blue):

Every Do-It-Yourself van conversion project is a different story, and there is not a single “perfect place” for everyone, So you have to think for yourself based on your van’s layout what is the most functional place for installation.
I want to leave you with some food for thought:
- Think about the airflow between your windows and the fan: the farther apart they are, the greater the part of your vehicle affected by constant air exchange.
- Consider the Electrical Connection: the fan will need to be connected to the 12V batteries, be sure you can reach it without problems
- Consider the “Ribs” of your Roof: Almost all vans have supporting structures/beams on the roof. Locate the area to be cut between two of these and make sure you have enough space for hole and frame.
- Consider the other accessories you’ll want to install on the roof: Do you want to install solar panels? An awning? A roof rack? Or a platform for drinking a beer while watching the sunset? Think carefully about how you plan to use the valuable space on your roof and where the fan can be placed accordingly 🙂
Last, I would like to discuss the idea of installing two fans (one that draws in fresh air and one that exhausts stale air).
This type of installation creates an even more optimal air cycle, however, of course the price and labor of installation doubles. Personally, I would have gone over budget and not go for this option, however, if you have availability in your pockets it may be an idea to consider.
For the time being, from my personal experience I can say that I have been more than comfortable with one Maxxfan Deluxe and have had no particular problems with condensation or lingering odors, despite the length of my van (7 meters).
3.2 Prepare the cutting area
Let’s clear up right away a doubt that always hovers in the air: how many inches should the hole on your roof be?
Well, since each fan comes in different slightly different models, believe it or not, but the best way to know how many inches to make the hole is only one: READ THE INSTRUCTION BOOKLET!(EN version)
Searching the Internet is very confusing, whereas with the instruction booklet you will have all the answers you are looking for and can be sure that you are taking the right hole for your fan model.
That said, I have installed a Maxxfan Deluxe 7500Ki40 on my VW Crafter , and from here on out when I give dimensions they will be specific to this fan model .
These are the key steps to prepare the cutting area:
1. Create a Wood Frame with Internal Hole 40x40cm. I kept the thickness of the frame 4cm high and 3cm wide.

2. Try to insert the screws at the bottom of the frame so that they do not obstruct future screws coming the roof.

3. Test the Fan Frame Measurement between the “Ribs” of your roof, and mark it with a marker.

4. Using a Drill with a metal drill bit, drill the four inside corners of the design you just made.

5. With a Hole Saw, drill the center of the square for easy access with the jigsaw.

6. From the outside, redraw the square and with a hole saw create a wide hole for each corner.

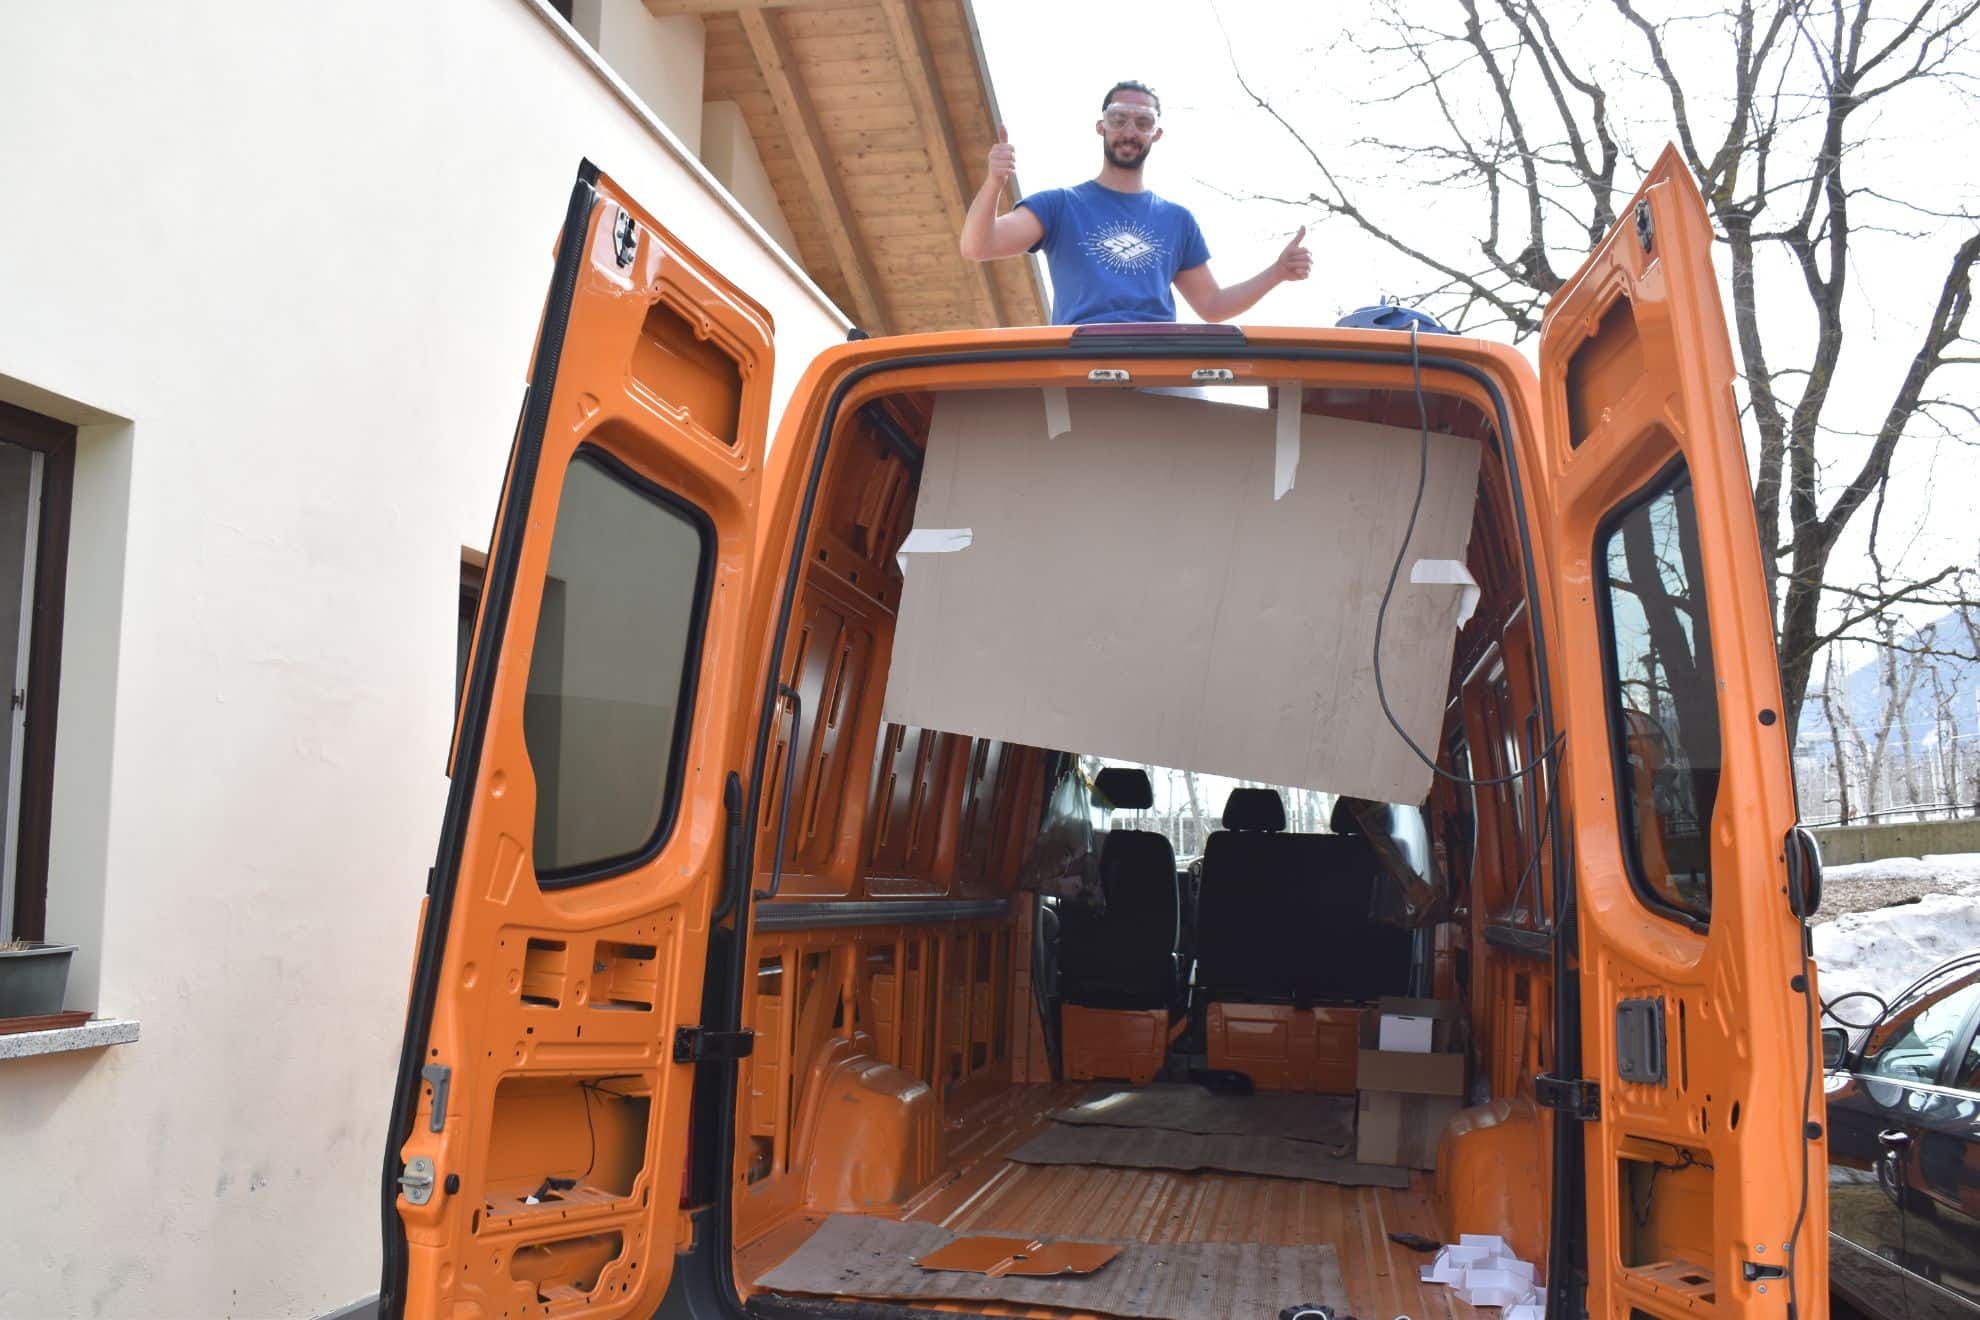
7. Using tape, apply a piece of cardboard underneath the future cut so that when it falls, it will not create any damage

8. Wrap your Jigsaw with paper tape to prevent scratches to the bodywork of your RV

3.2 Cut the hole for the fan in your camper van
Once the area has been identified and the tools prepared, it is time to cut the hole and prepare it for the insertion of the fan.
Below, I leave you with a description of the next steps.
9. Draw the square between the four corners with a line, and cut with the jigsaw along the perimeter.

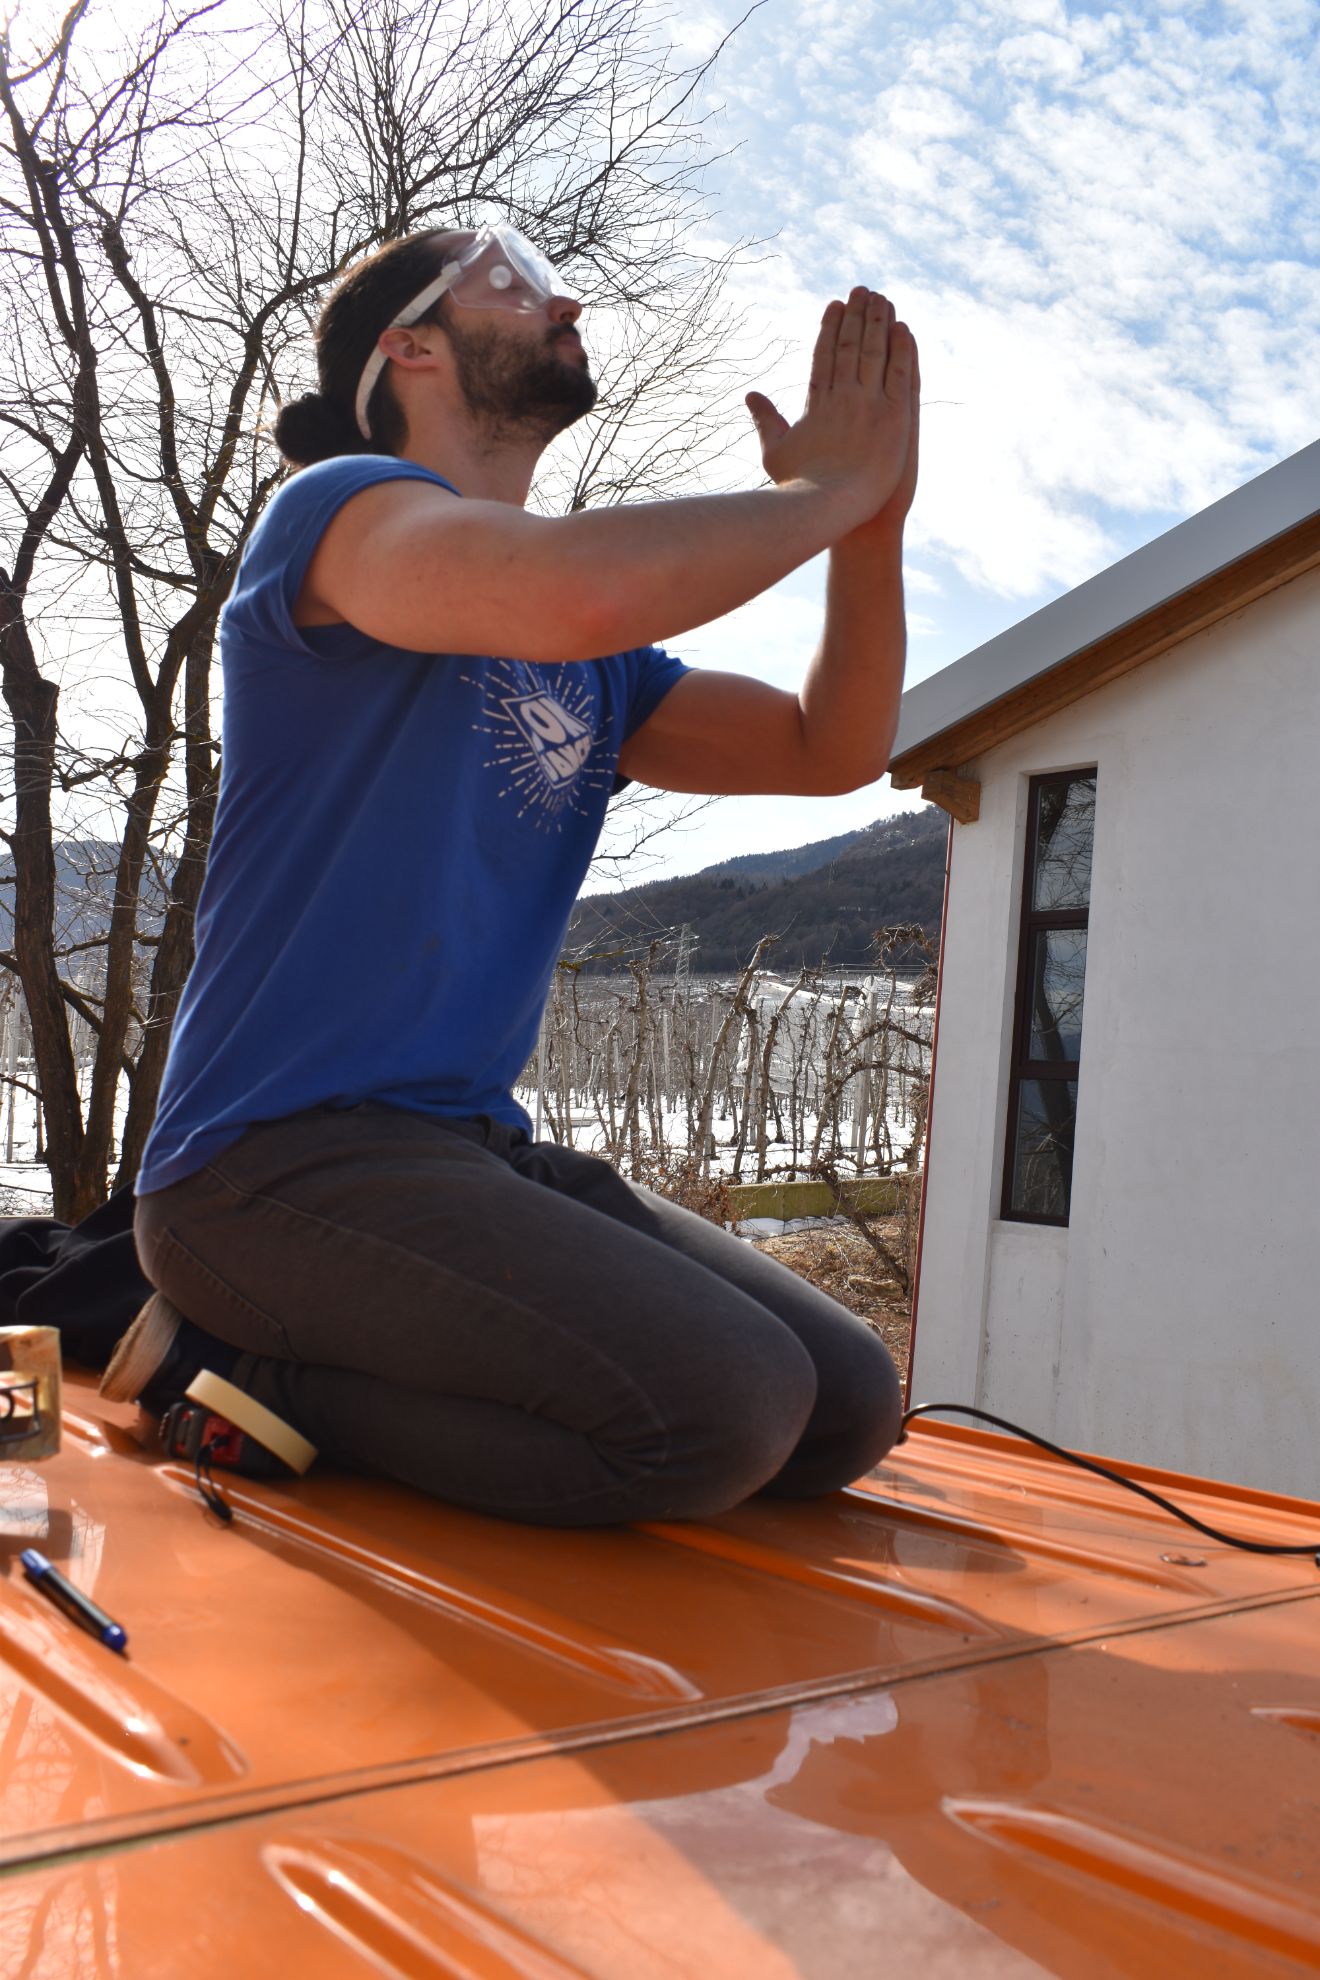
10. Once cut, breathe and feel like the king of the world for a moment 😉

11. File all freshly cut edges to remove sharp ends.

12. Apply a coat of rust inhibitor to the edge, followed by paint (spray or brush)

13. Make sure you have painted all the corners; the paint protects the living metal from rust.

14. While you wait for it to dry, use strips of butyl tape to make the bonding area as flat as possible.

TIP: The butyl tape is a rubbery, super-sticky tape that is useful for leveling and waterproofing uneven surfaces such as a groove-covered van roof, for example. I recommend buying a tape at least 3cm wide to give a solid base to the whole fan body.
4. Van Conversion: How to Install a Maxxfan Deluxe Fan.
Now that we’ve prepared our hole and laid out the butyl tape, we’re ready to secure our fan in place and finally give our camper van a fan that’s respectable!
Pack the fan, screws, glue, drill, and all other necessary materials with you so you don’t have to constantly get in and out of your van; and we are ready to start.
4.1 Insert the Fan into its hole
15. Make sure the area where the fan will be laid is flat and free of bumps (very important).

16. Lay the frame carefully and make sure the inner hole is totally clear (then we will insert the fan)

NOTE: When leaning the frame, make sure the metal hooks are positioned sideways to the direction of travel of the van.
17. In the 16 places already marked by the plastic frame, prepare the holes for the screws with a drill with a metal bit.

18. Then fasten all the screws so that they go through the sheet metal and into the wooden frame below.

TIP: To prepare the holes, use a metal drill bit slightly thinner than the screws you are going to place. In this way, the screws will enter more easily but at the same time have a firm grip in the sheet metal and wooden frame underneath.
TIP 2: Start by screwing the 2 center screw and then continue by alternating opposite corners and opposite sides. In this way you reduce the stress to which the frame is subjected and avoid possible bending (which can be a problem when inserting the fan).
TIP 3: Sometimes screws can be very hard to insert with a screwdriver (after all, they go through plastic, a layer of blutak, sheet metal, and wood. I personallyfound it easier to pull them by hand with a screwdriver and some WD40 lubricant.
19. Now insert your fan into the frame. I decided to orient it toward the back for better aerodynamics.

20. Press the fan down firmly until the four holes on the sides are aligned.

TIP: If there are curvatures, even faint ones, in the white frame, it can be difficult to push the frame all the way down so that the screw holes line up with the metal supports. From my own experience, I can tell you that you need to apply quite some brute force, so don’t let it bother you. In addition, a little WD40 lubricant can also help.
21. Insert and tighten the four side screws so that the fan is firmly anchored to the plastic base.

22. Clean the entire area around the fan with alcohol or an all-purpose cleaner.

23. Fill the entire edge of the frame and the 16 screws with Sikaflex 521 (or tinsmith glue).

24. Make sure there are no holes where water can enter. Then smooth out the glue, and clean the area.

TIP: It is very important that no small gaps are left around the frame. In addition, all 16 screws at the base of the fan should be covered with sealant (after all, they are 16 holes where water could penetrate). To do a good job, I can recommend that you use a glove and pull the glue with your fingers, this way the spreading will be more even and you will be sure to cover every tiny area.
5. Camper Fan: Conclusion and Next Steps.
Once the glue is dry, you can test your fan with a water hose. If you have followed all the steps carefully, you will see that not a single drop will penetrate 🙂
At this point, all that remains is to connect the red (+) wire and white (-) wire with your van’selectrical circuit and enjoy the well-deserved results of your hard work.
Below I leave a video I took as soon as I installed my fan (the joy was so great aha), and a photo of what it looks like once the ceiling and lower decorative frame are added.
My reaction to turning on the fan for the first time 😉
The fan later in the construction of my van, finished with the lower frame once the ceiling is in place.

That was it for this Maxxfan mounting guide was all, I hope this information helped you.
And you, what fan did you choose? How did the assembly go? Do you have any questions or advice you would like to leave for others who will be in the same situation as you?
Get in touch below 🙂
As always, thanks for reading, and see you in the NEXT ARTICLE 😀
BEFORE YOU GO, CAN I ASK YOU FOR SOME FEEDBACK?
Writing detailed articles like this takes a lot of time and effort..
If you liked it, can I ask you to leave me a feedback message in the comments at the bottom of the page?
For a content-creator, knowing that you are being read and that your efforts are useful to someone is the best motivation to keep writing and doing better 🙂
Let me know what you liked or what you think could be added.
If you’d like, you can also share the article to help other people find it!
Thanks for the help 🙂

Read the Van Conversion Guides
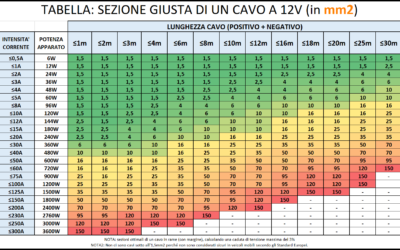
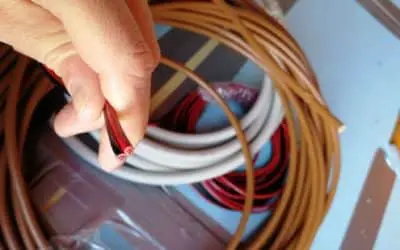
How to Calculate the Right Section of 12V Cables | EASY GUIDE
An undersized cable does not carry enough current. A cable that is too undersized can lead to a fire. An oversized cable, on the other hand, simply costs more and is a waste of money. Are you wondering what is the logicfor choosing one section of cable over...

Bluetti vs Ecoflow | Which is the Best Portable Power Station for RV/Vanlife?
The Portable Power Station is an increasingly used accessory on camper vans and RVs, but when does it really make sense to purchase and own or install one? In this article we try to shed some light on how these systems work, the best options on the market, and the...

Van Conversion DIY: How Much Does It Costs? | My Experience
How much does it cost an entirely DIY van to campervan conversion? The queen of all questions... In this article, I want to show you all the costs of my conversion from start to finish, so that you too can get an idea of what it might cost! ...

Van Electrical Diagrams for your DIY Project – Ready to Install
The Electrical System is often one of the most complicated steps in a DIY van conversion. How much energy is needed? What apparatus/devices to purchase? How to connect them? How much would it cost? These are all doubts and questions that normally everyone finds...

Van Interior Conversion: Best DIY Ideas for your Project!
The Interior Outfitting of a DIY converted van is both an aesthetic and structural choice. In this article, you will find useful information and inspiration ideas for customizing the Walls, the Ceiling, and the Floor of your Van! DIY CAMPERVAN SET-UP:...

Kitchen for Camper | Best DIY Ideas for your Van Conversion
Cooking in Camper is one of those things, that makes you feel at home wherever you are! Gas, Diesel or Electric Stove? What equipment and accessories you need on the Road? How much space do you need? How to assemble the kitchen in your Camper? In this article you will...

The Best Fridge for Your Campervan – Which One to Choose?
Buying a trivalent or compressor RV refrigerator? Horizontal or vertical? 12V or 110/220V? In this article you will find all the information you need to choose the best fridge for Your Van, tailored to your Needs! 🙂 THE REFRIGERATOR IN THE VAN:...
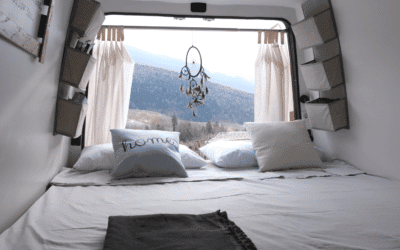
Van Conversion: How to Build a DIY Bed for your Camper Van
A Camper is not a Camper if it does not have a bed. Where to Sleep and... Dream! In this Guide you can find the inspiration you need for creating a DIY Bed in Your Campervan, And I'll show you step by step how I built a Complete Bed/Dinette on my VW Crafter....
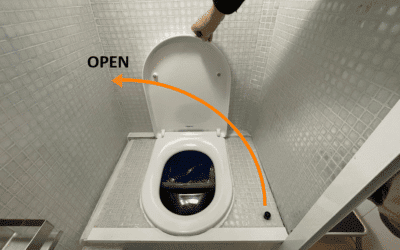
DIY Camper Bathroom: How to Self-Build a Toilet
If you are Campering a Van you surely must have wondered: How does the Bathroom in a Motorhome work? In this Guide I show you the various types of Bathrooms on the market, I explain how they work, and I show you how you can Build yourself an entirely...
How to Build a Shower in a Do-It-Yourself Camper
A Shower in the RV for some people is not necessary, for others it is a real necessity to be totally independent! In this guide I'll tell you how I built the shower of my converted van entirely Do-It-Yourself! INSTALLING A SHOWER IN A...
Complete Guide and Electrical Scheme for your D-I-Y Van Conversion
You dream of transforming your Campervan DIY and have never touched an electrical cable before? Or do you want to implement some changes to your Factory RV? In this guide you will find EVERYTHING (absolutely EVERYTHING!) you need to know to create the perfect DIY...
Converting a Van: How to Connect Electric Cables Without Mistaking
Want to know how to "connect" the electric cables in practice in a converted van? Stripping, Crimping, Wire Leads, Clamps, Tubing, Cable Ties and much more... You've come to the right place to learn All That! How to wire your van's electrical...


0 Comments