
If you are Campering a Van you surely must have wondered:
How does the Bathroom in a Motorhome work?
In this Guide I show you the various types of Bathrooms on the market, I explain how they work, and I show you how you can
Build yourself an entirely Do-It-Yourself toilet!
BUILD A DIY CAMPER BATHROOM
Bathroom in a camper van–include it in the project Yes or No?
Honestly, I say to you.
absolutely YES
!
Having a bathroom on board helps you relieve yourself when and where you need it most (and you never know when it will escape!). At first it may seem strange to have a toilet that doesn’t flush into the sewage system, but trust me that after you experience its convenience once you won’t want to go without it.
If you’re
building your own Do-It-Yourself Camper.
, you’ve probably wondered how portable toilets work, where the needs end up and where they are disposed of… in this article you’ll find all the answers to your questions!🙂
In order, I will in fact explain the operation of the main types of RV toilets (chemical and compostable), I will show you some of the better models of each type, I will show you how I self-made my own compostable toilet (saving quite a bit of money) and finally, I will explain to you thoroughly how and where we can flush our liquid and solid needs ;D
Happy reading! 😀
TABLE OF CONTENTS
DIY Camper Bath: The Complete Guide

Do you want to support LostOnTheRoute?
All of the Guides I publish on this blog are free and usable by anyone because I personally am a firm believer that information should always be a public good and accessible by anyone and not a commodity to be purchased. Sharing is caring 😉
That said, maintaining a great blog full of detailed articles takes a lot of time, a lot of beer (of inspiration ahah) and most importantly implies economic costs sometimes not so obvious too.
If you would be interested in helping with the costs of the blog, you can consider purchasing any of the recommended products through the links on the page or in the Amazon storefront. LostOnTheRoute in fact participates in the AmazonAffiliate program, and for every product purchased through the links, I receive a small commission, obviously at no extra cost to you🙂
Happy reading and have fun with your project!:) 😀
Dani

Check Out All DIY Van/RV Products of tested quality, in one place.
1. Bathroom in the Camper: Is it needed Yes or No?

1.1 WHY INSTALL A BATHROOM ON YOUR VAN
If in every home, there is a bathroom; there is a reason: we need it all the time, every day!
As you travel, the need for a bathroom remains, and having a place to empty yourself, wherever and whenever you want, without ever having to pay a euro, is certainly no small comfort. More time to enjoy the journey, and less time to suffer looking for a bathroom!
In fact, when you are traveling, whether in urban areas or remote places, it is not always easy to find a bathroom, and a clean one at that! Having an on-board toilet means the problem does not arise: any parking lot becomes the right place to empty out and leave again.
If you are planning to camper a van for trips longer than the duration of a weekend, I personally recommend that you think about installing a bathroom or at least an emergency toilet. Once you’ve tested its convenience, I don’t think you’ll be without it 😉
1.2 THE IMPORTANT THING IS TO PLAN THE CONSTRUCTION/INSTALLATION WELL
To avoid unpleasant situations (in this case, situations of m**** 😉 ) it is important to plan from the beginning how to install (in case you buy one already made) or build (in case of Do-It-Yourself) your portable toilet.
Having a bathroom on board in fact, as you can well understand, is still something “extra” to take care of and obviously involves good planning for:
Avoiding Bad Odors: A poorly installed/constructed toilet could let unpleasant odors escape inside your RV. Since this is a very small space where everything is practically communicating (kitchen, living room, bed etc.), it certainly would not make for a pleasant travel experience.
Emptying Organic Waste/Black Water: all RV toilets, regardless of how they operate, transfer our excrement into receptacles that regularly need to be emptied. Therefore, it is very important to install/create our bathroom in a way that makes flushing waste and sanitizing containers as easy and clean as possible.
Feeling at Your Own Leisure: If you plan to travel with other people, you need to take into account the level of privacy you may need. If you plan to travel with a very intimate partner, for example, you may not need walls and use a space-saving pull-out toilet when needed. Conversely, if you are traveling with people with whom you do not share the same intimacy, creating a bathroom with a door and walls may give you more privacy and comfort.
In the next chapter, I will show you how RV toilets work and we will cover all these points in detail to make sure we leave nothing to chance 🙂
Once you understand how toilets on RVs work, and given the various toilet models on the market, I will show you how with creativity and DIY, you can create solutions that are effective, easy to maintain, and also take up very little space.
2. Chemical Bath vs Compostable Bath

There are essentially two types of toilets in RVs: the chemical toilet (the most classic, installed on almost all factory RVs) and the compostable toilet (also called the “dry toilet” or “composting toilet”) that has become very fashionable in recent years.
Below I briefly explain the operation of both one and the other.
2.1 THE PORTA-POTTY IN THE MOTORHOME: HOW DOES IT WORK?
.A chemical toilet works in much the same way as a household toilet: you do your needs in the bowl, flush them, and they are flushed away (in this case, not into the sewer, but into a black water receptacle).
The name “chemical bath,” comes from the chemicals that must be poured into the black water tank with urine and feces to mitigate the odor and break down the waste.
This type of toilet, is the standard for all recreational and commercial vehicles (RVs, buses, trains, etc.) and being in circulation for so long there are hundreds of models.
Although different models may vary greatly in price, maximum capacity, comfort, and extras; they all follow the same operation: eject, pull water, all to black water.
2.2 THE COMPOSTABLE TOILET: HOW DOES IT WORK?
The compostable toilet is a relatively new concept for the recreational vehicle world and at the moment seems much more widely used and appreciated in Do-It-Yourself vans/vans than by RV manufacturers.
The operation of a compostable toilet, again, is relatively simple.
First, you sit down and do what you have to do. At this point, without flushing, the toilet divides the urine from the solid excrement: pee ends up in a canister in front, and poop ends up in a container behind.
By separating the liquid waste from the solid, most odors are prevented. In addition, the solid, is mixed/covered in its container by other “compostable” material such as sawdust or similar materials.
At the end of the process, you have two containers, one for liquid and one for dry that can be emptied independently if needed.

2.3 CHEMICAL TOILET AND COMPOSTABLE TOILET – THE COMPARISON
Below, let’s look together at the main advantages and disadvantages of one type of bathroom rather than the other.

Chemical Bath
PRO
- A single container to empty
- More like the toilet at home, just flush the water
- There are hundreds of models, both freestanding/portable and centralized built-in
- More advanced models send the residue to a canister hooked under the RV, which can then be emptied at appropriate locations
- Relatively low purchase prices for all budgets
- There are space-saving models that can be hidden in a cabinet when not in use
- More modern feeling
AGAINST
- Chemicals come at a cost, making them more expensive to maintain than a compostable toilet
- Each rinse consumes water that could be saved for other uses
- Need for a Blackwater reservoir.
- Blackwater, containing chemicals, can only be emptied in designated areas (difficult if you plan only free camping)
- Emptying black water is not the best: thesmell is foul.
WHEN DOES IT MAKE SENSE TO CHOOSE A CHEMICAL TOILET?
It makes sense to choose a port-a-potty if you’re replacing a toilet in an RV that already had a pre-purposed port-a-potty system, if you plan to visit campgrounds regularly, and if you want a bathroom experience similar to the one at home.

Compostable bathroom
PRO
- It is a sustainable choice for natural recycling
- Maintenance Cost is much lower than that of a chemical toilet
- Being a dry system, it helps you save water
- Easy to Build Do-It-Yourself (compared to commercial models, Do-It-Yourself costs a fraction of the price)
- The two tanks can be emptied more easily, in more places, and they don’t smell too bad either
- The two tanks, are easy to clean and rinse. The feces one, practically almost never even gets dirty.
AGAINST
- There are only a few models on the market, and the purchase prices are very high indeed
- Two tanks to empty instead of one
- Poorly installed systems or left without taking care of them, produce foul odors
- Removal of containers is always manual
- The experience of using it is different from home (when you are done, you have to cover the feces with sawdust/similar) and at first it may seem like a strange thing
- You have to use them sitting down, even the men
WHEN DOES IT MAKE SENSE TO CHOOSE A COMPOSTABLE TOILET?
It makes sense to choose a compostable toilet if you want to make a sustainable choice and save money (both economically in maintenance and water on board), if you plan a lot of free camping, and if you don’t mind the “dry” toilet experience.
2.4 THE BEST CHEMICAL TOILETS FOR YOUR RV
In this paragraph, I want to show you 3 of the best models of chemical toilets to help you in your choice, should you have chosen the chemical toilet route.

Thetford
“Porta Potti”
The Thetford Porta Potti is one of the classic chemical toilets for RVs.
It can be purchased in various sizes and is a portable, complete and self-sufficient solution.
The toilet has a reservoir where thewater for flushing and the disrupter can be inserted, a display to monitor the water and flush levels, a pocket for toilet paper, and avery convenient opening and emptyingsystem .
If I had not chosen to go the compostable route, I probably would have installed a Porta Potti in my Van.
Cost between 80-180 Euro (depends on model and size).

Enders WC Chemist
Laptop
A small porta-potty for emergencies. Suitable for even the smallest RVs, the Enders Chemical WC is an independent, self-sufficient unit.
If you plan a concealed bathroom, this type of toilet can easily fit into a dresser or closet; it takes little space and fulfills its function.
The design is classic and indiscreet, something that is often missing from most RV toilet models, which are honestly very ugly and bulky.
Cost: about 80 euros with accessories (toilet paper and disruptor) included.

Dometic Saneo
Built-in Toilet
A sleek design and a ceramic bowl are the hallmarks of the Dometic Saneo, one of the most modern and stylish Chemical toilets.
The cup can rotate 90 degrees in either direction for maximum convenience, control display and pulse flush to control water consumption are respectable extras.
Dometic is a brand of undisputed quality in the field of recreational vehicles, and unfortunately this quality comes at a price.
In fact, the price for a Dometic Saneo is very high, and is around 900 Euro.
2.4 THE BEST COMPOSTABLE TOILETS FOR YOUR RV
In this section, I want to show you 4 of the best compostable/ecological RV toilet models on the market right now.

Nature’s Head
Composting Toilet
Nature’s Head is the undisputed leader in composting toilets.
Compact and durable, works without water. A 12V fan connected to a vent outside the van produces constant ventilation and pushes out odors.
A crank on the side allows the solid waste to be turned to really create a compost substance.
The toilet is done well, but it costs a damn lot (over 1000 euros) and emptying it anyway takes some effort.

Biolan Simplett
Ecological WC
Biolan’s Simplett is a compostable plastic toilet that is very simple.
The liquid is discharged via hose to an external tank/canister (not included).
The receptacle for the solid is nothing more than a container to put a biodegradable bag in. When finished, it can be closed and thrown away.
The Simplett requires no electricity or water and the lid insulates against odors. Price still high. (350E)

Compostable bathroom
Separett
The Separett is in my opinion most advanced and modern solution among compostable toilets.
Much more
easy to open and empty
than either Nature’s Head and with a more attractive design, like the other compostable toilets the Separett separates liquids and solids.
A 12V fan and a tube help with constant ventilation, and an indicator light comes on when it is time to empty the containers.
The Price is unfortunately also very high here(around 1000 Euro).

Camco
Portable Toilet
The Camco Portable Toilet is a special ecological toilet.
Unlike compostable toilets, it does not separate liquids from solids: you do your business, open an odor valve, and everything falls into the tank below.
This toilet also, like many chemists, has a tank for flushing water and a bellows flush.
Compared with chemical toilets, it consumes less water and nothing else.
Cost about 150 euros.
Unfortunately, at present there are still no great choices in the compostable toilet market.
Good products are few, and they cost a lot.
Personally, after much searching, I did not find a product that met my needs 100 percent(Nature’s Head or Separett maybe would have appealed to me, but 1,000 euros for a WC was too much for my pocket).
Therefore, I decided to roll up my sleeves and create my Camper’s bathroom entirely Do-It-Yourself. In the next chapter I will explain how, in case you also want to take the same path 🙂
3. How to Build a DIY Compostable Toilet
3.1 REASONS WHY I CHOSE A DO-IT-YOURSELF COMPOSTABLE TOILET
When I designed my camper van, I did so with the use I planned to make of it in mind: to travel in it full-time, to do as much free camping as possible, and to be as autonomous as possible (in terms of energy, water, and waste) for as long as possible.
This philosophy, I also followed in designing the bathroom.
Having black water on board (organic waste with chemical breakdown agents) means that it always needs to be emptied at a dump station, campsite or toilet (in the
Chapter 4
I explain more about where black water/organic waste can be flushed). Which is not always convenient or quick .
In addition, to keep chemical toilets in good condition and avoid odors, it is necessary to treat them constantly with some
antibacterial disruptor
which in the long run (if the RV is used to live in it full-time) is an extra maintenance cost anyway, adding to the monthly travel expenses.
The lack of convenience of emptying a porta-potty and the cost of monthly maintenance were reasons for me to discard a porta-potty for my RV.
After realizing that the chemical toilet was not suitable for my needs, I set out to find a compostable toilet.
For quite a while I have been pondering some of the models on the market (the Nature’s Head and Separett were very attractive to me), and their operation really inspired me: divides liquid and solid; the liquid (pee) can be emptied independently when needed, while the solid (combined with sawdust and the like) becomes a 100% sustainable and compostable material.
However, there were also details that didn’t inspire me too much.
In addition to having to wash the solids canister by hand on a regular basis (not the most pleasant thing, but still doable), there was clearly
An elephant in the closet: the price
! As well designed and constructed as they were, I just couldn’t resign myself to the idea of spending a thousand (!!) euros on a toilet.
At this point, the idea popped into my head: I observe how they work and create one myself. And so I did.
In the next few paragraphs I will show you how I built my camper’s bathroom, entirely Do-It-Yourself .
NOTE: in my motorhome I built a bath-shower, in this article I will only cover the bathroom part. If you are interested in learning how I built and lined the entire structure, I suggest you read the article
How to Build a Shower in a Do-It-Yourself Camper.
3.2 DO-IT-YOURSELF BATHROOM PLANNING
In this section, I show you in detail how I planned the van tailored to my needs (and hopefully give you a useful idea for planning YOURS as well!).
STEP 1. To begin with, I thought about the size of the seat.
For the width I knew I had no problem, having bought a 60x60cm shower tray, that would be the width of the bathroom as well.
To calculate the length, I based it on
this toilet seat
which I bought on amazon (I chose this one because the cover completely covers the inner toilet seat and prevents both accidental water spillage and odors from coming out. The tablet was 45cm long, leaving a few cm margin for the opening, I went with a length of 49cm.
Forheight, on the other hand, I initially simply thought of measuring the cup at home: after all, that height surely has been studied by many before me as the most suitable to be comfortable for the average person.
Unfortunately, however, given the tanks I found for solid/liquid waste and the size of the diverter (which we will discuss in a moment), I have fallen back on a height of 53cm, slightly taller than the standard (45cm) but not overly so either.

3.2 THE KIT I USED TO BUILD MY OWN DIY BATHROOM
STEP 2. Once I was happy with the seat measurements, it was time to find all the right materials to build my bathroom.
Below, I show you in brief the materials I used, while in the step-by-step explanation immediately after I will explain the characteristics of each of them, why I chose them, and how I used them.
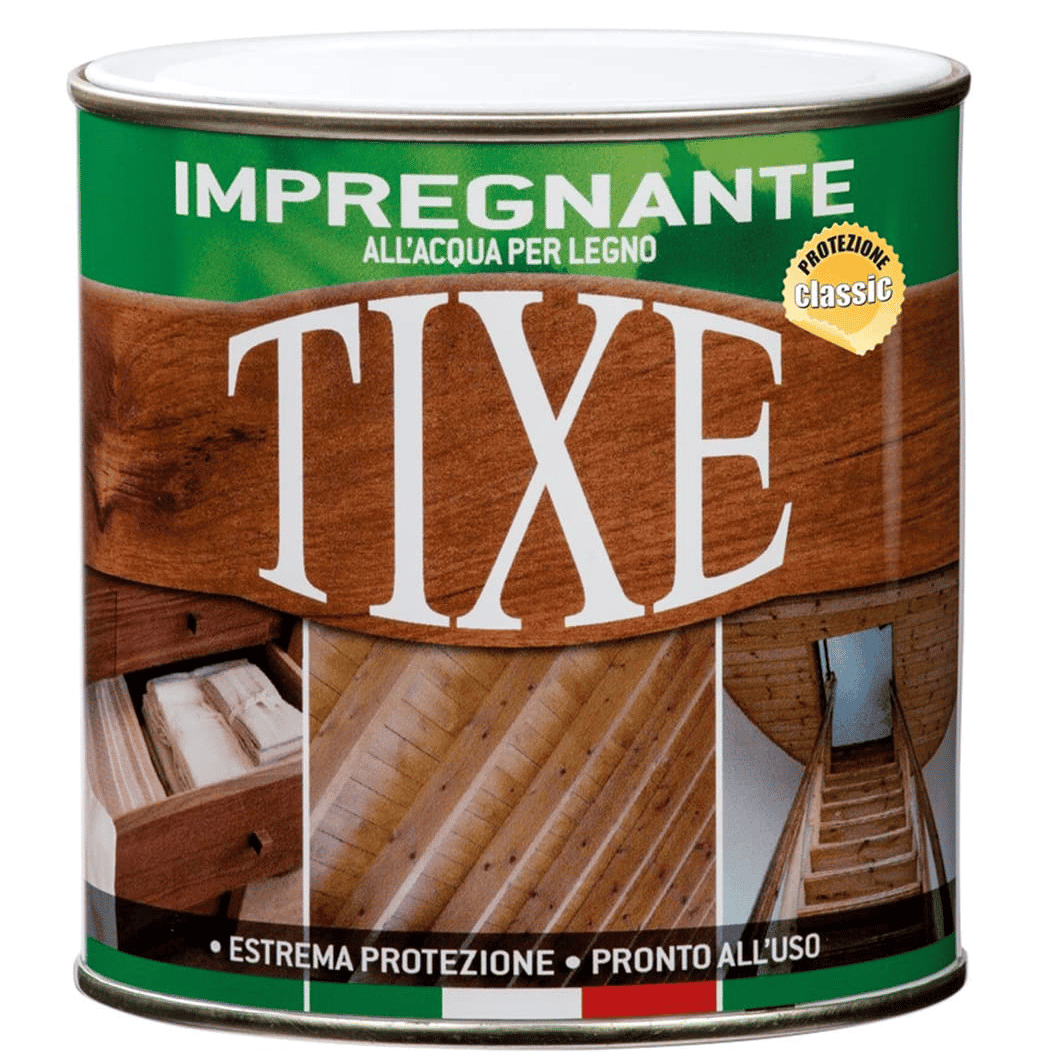
Wood impregnation
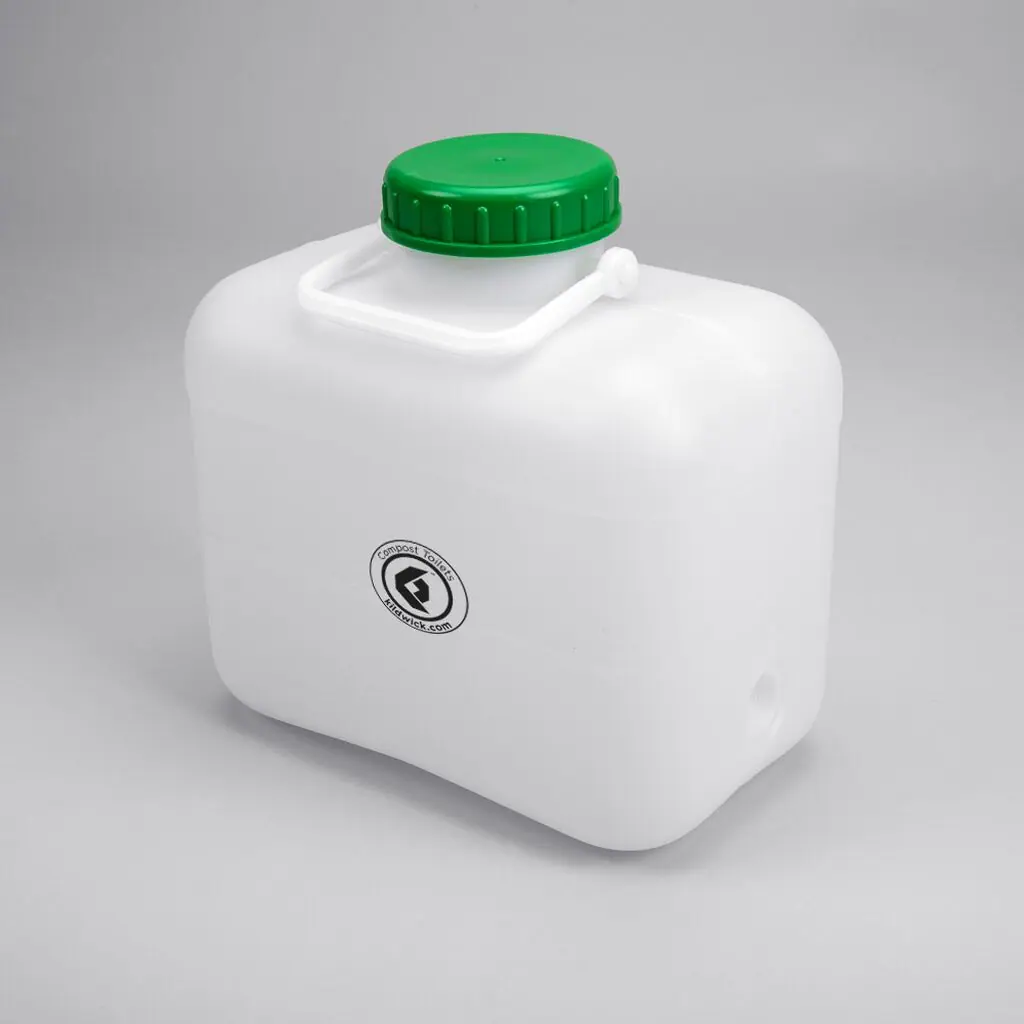
Kildwick Urine Tank

Universal Water Cover
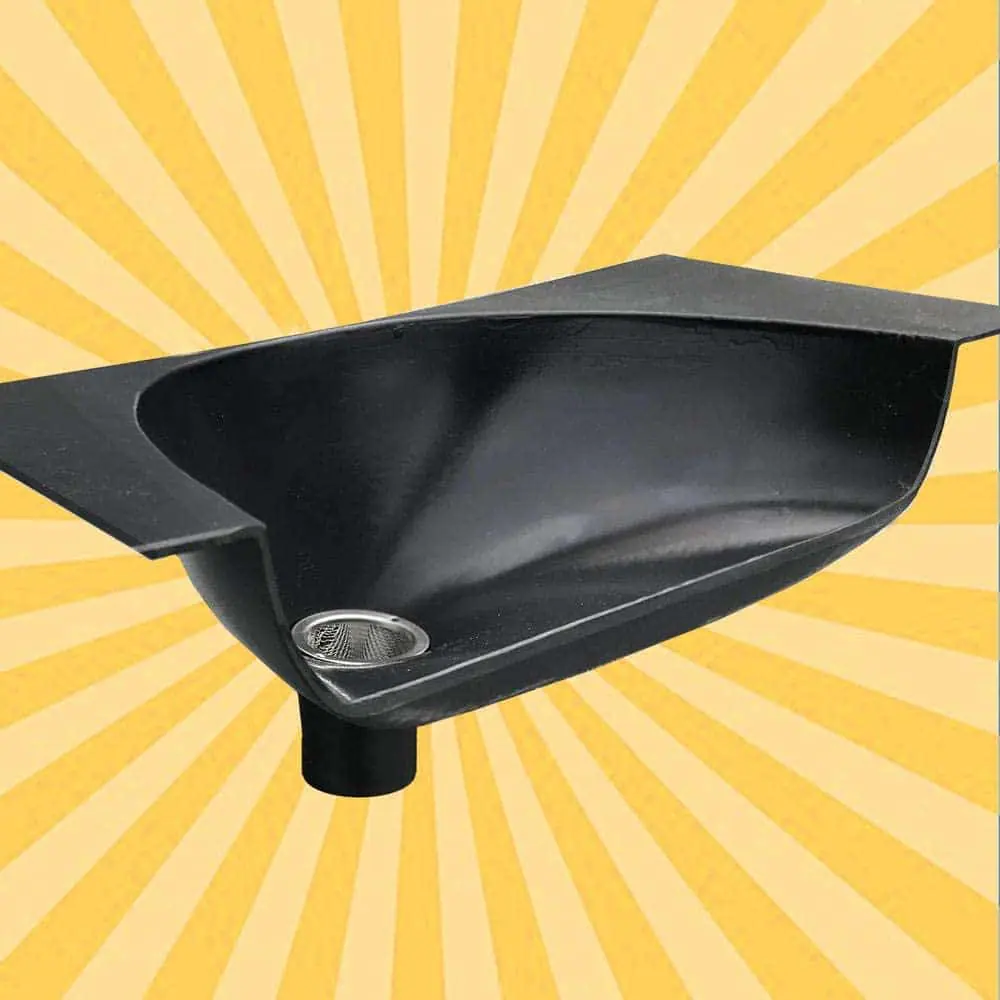
Toilet Urine Separator
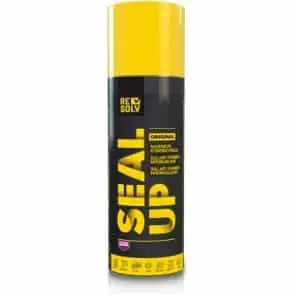
Waterproof Membrane
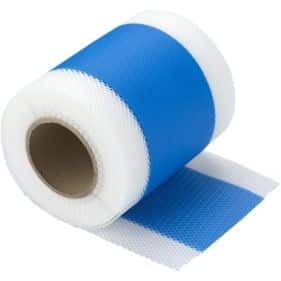
Shower Sealing Tape
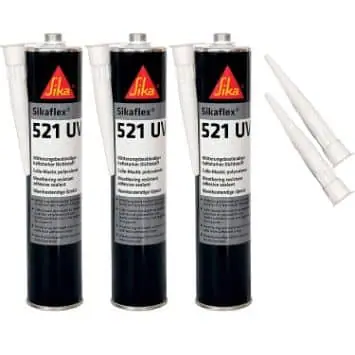
Sikaflex Glue Sealant 521
Nozzle 60x60mm
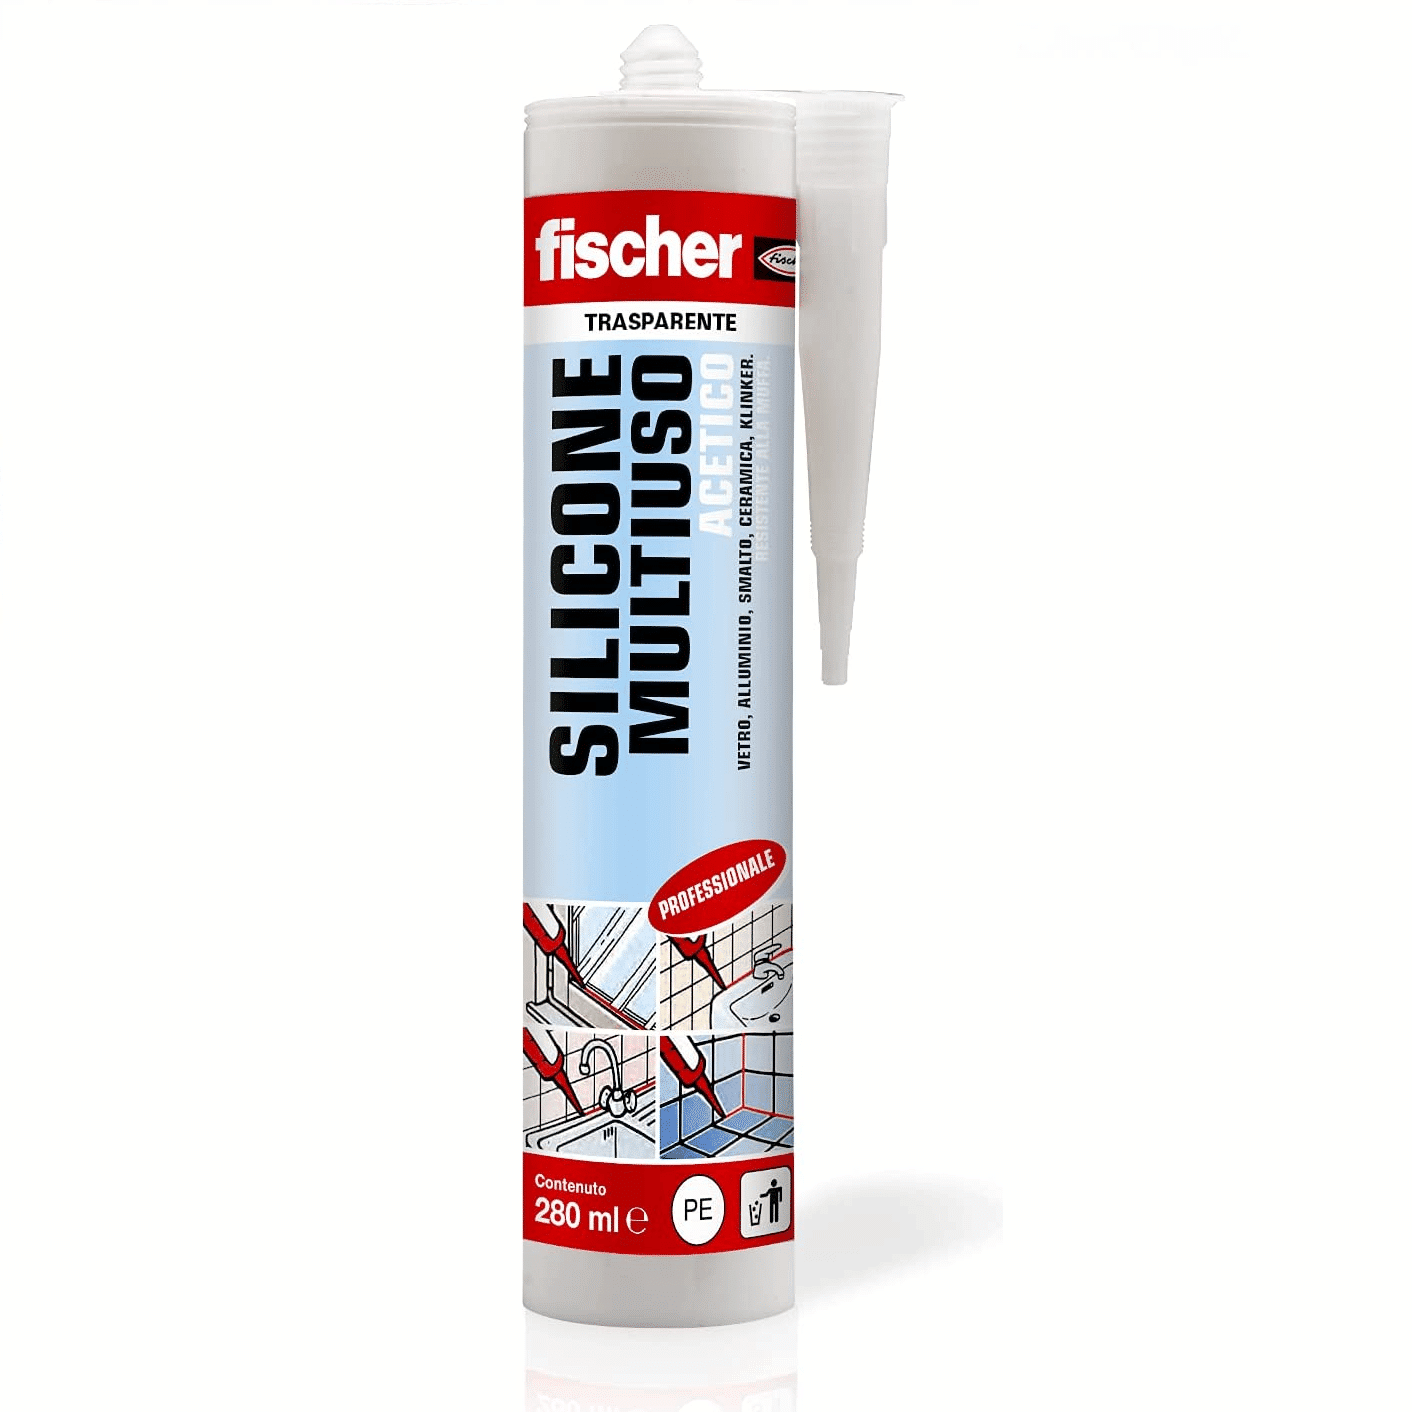
Acetic Silicone for Bathrooms
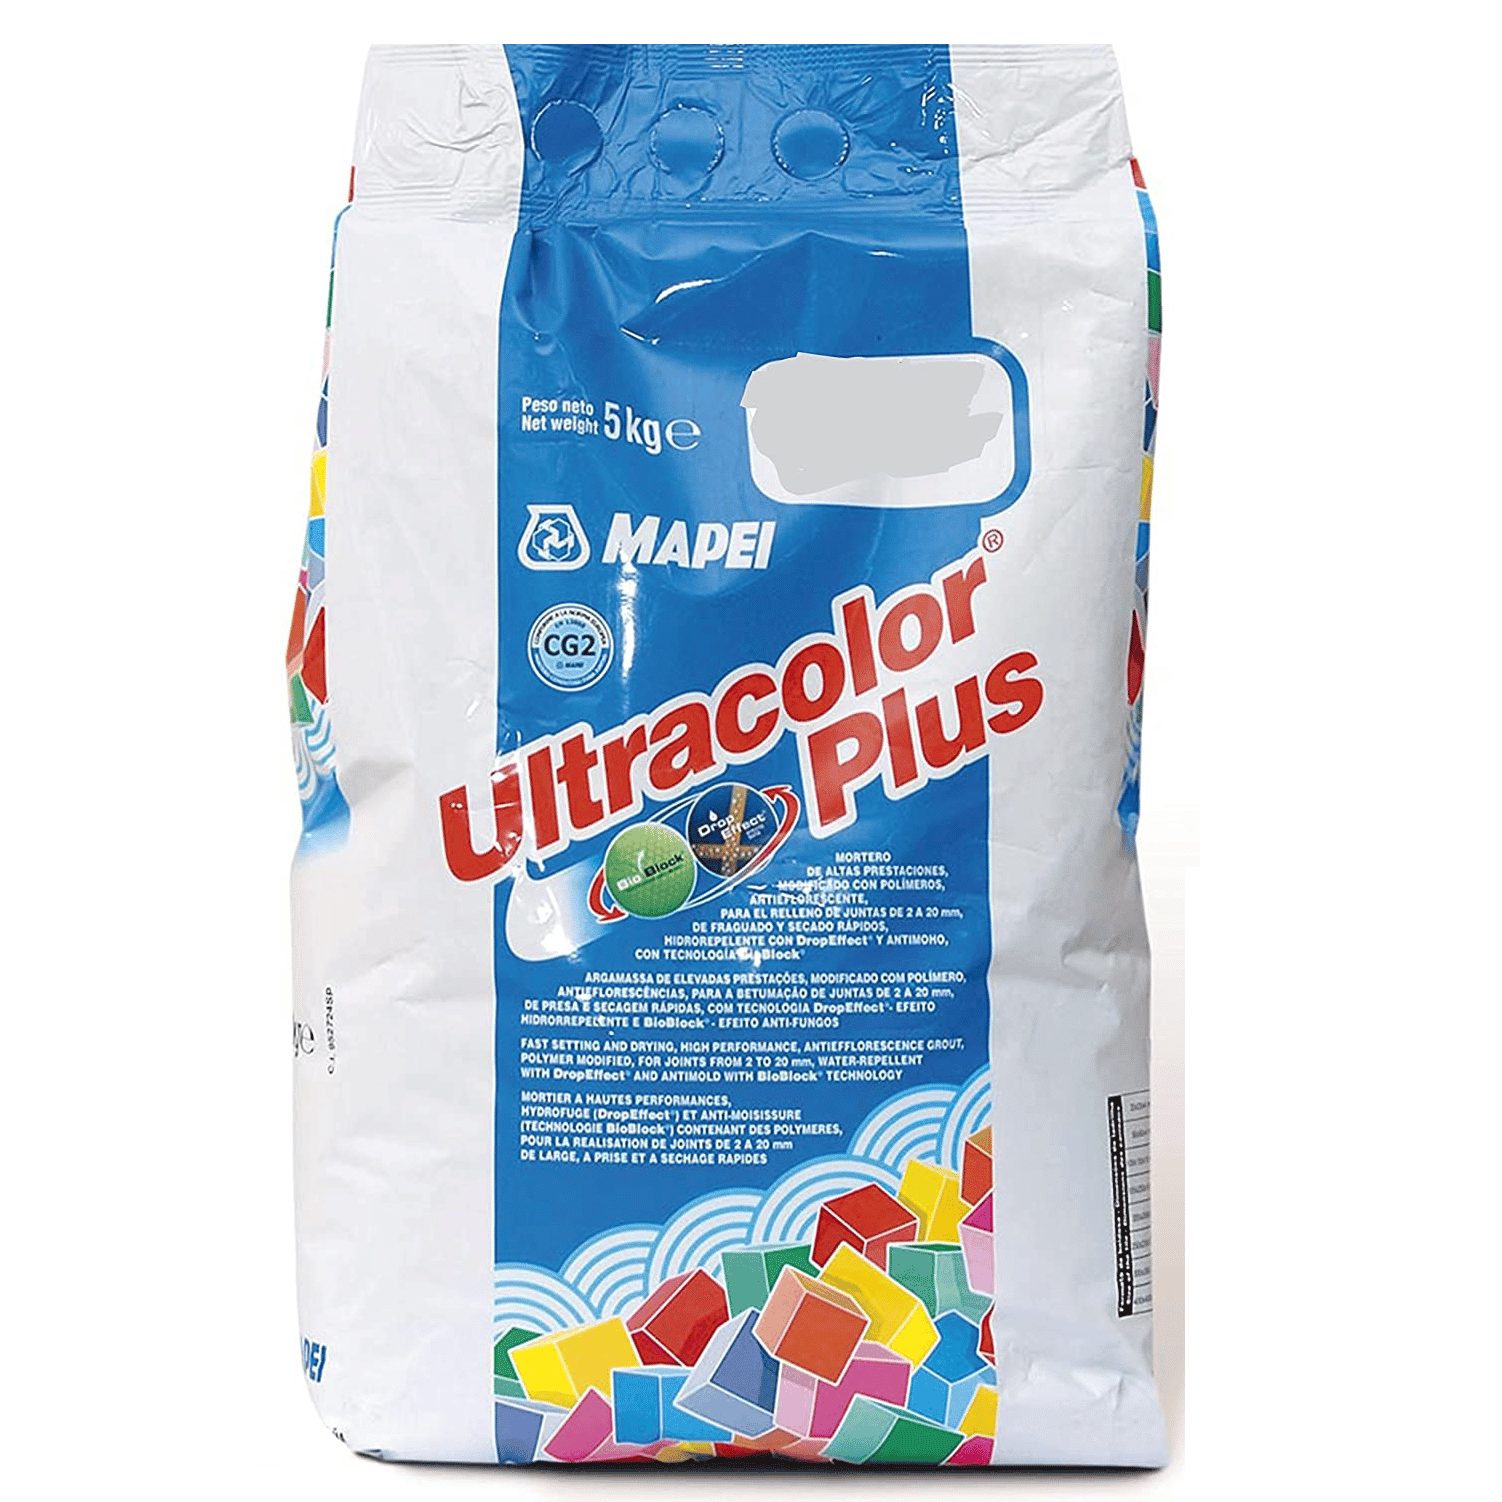
Grout for Escapes
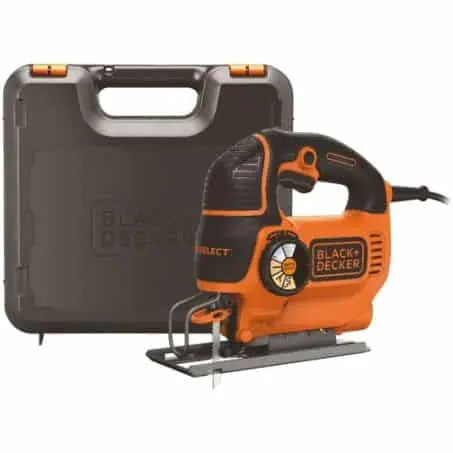
Jigsaw
Black Waterproofing
3.3 HOW I BUILT MY CAMPER’S DIY BATHROOM
Once all the materials were procured, it was time to get to work.
3. Before starting the actual work, at home I simulated the size and seating of the bathroom with the help of a chair. This helped me to actually understand the space I was dealing with, verify that all the components were the proper size and that they could fit together. Trying things out for real, it helps to get an idea of the spaces needed.

4. Once I was sure of the dimensions, I drew the interior of my toilet on an 18mm-thick plywood panel treated with two coats of impregnating agent (for a first layer of waterproofing). To draw the line, I positioned the toilet seat and used it as a guide. To cut the hole, I used a simple jigsaw.

5. After cutting and filing the hole for my toilet, I screwed the urine separator to the bottom of the top with six screws. I chose this model because it was among the simplest and cheapest I could find, but there are also slightly more elaborate models(like this one). In addition to the screws, I used black sikaflex 521 to seal the inner edge well.

6. Before proceeding further, I treated the edges of the hole withblack bituminous waterproofing. In this way the wood walls are waterproof, easily washed and, black in color, almost invisible to the eye when the project is finished (black hardly gets dirty).

7. Still using some Sikaflex 521, I glued the toilet seat to the wooden support and sealed the inner and outer edges between the toilet seat and the wood well. In this way, there is no risk of leakage.

6. At this point, I built the structure of my wooden bathroom: the tops (18mm multi-layer wood) and the supporting legs (4x4cm), all of course treated with two coats of wood stain.

7. I built my toilet slightly on the shower top both to save space and to give water a way to drain through the shower drain anyway.

8. As a urine container, I used this 10-liter Kildwick container with a wide cap. Instead, for the solids, I bought from a Chinese store nearby, a simple garbage can (measures 32x28x41cm ) and cut and trimmed it to size to make it fit perfectly with the urine diverter once installed.


Once the wooden structure was assembled, it was some time before I got to the next steps, as I had to finish the shower before finishing the bathroom.
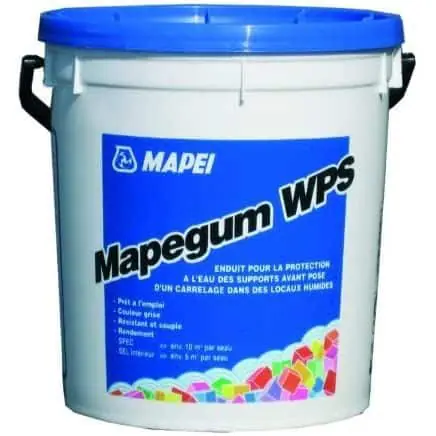
The way I waterproofed the bathroom (which you will see in the following photos) is the same as the shower: Mapegum WPS waterproofing membrane, cement and tile.
If you haven’t read the article on the shower yet, or you just want to know how to waterproof the outside of the bathroom, I suggest you give it a read:
How to Build a Shower in a Do-It-Yourself Camper.
. In this article in fact, I explain in detail how I covered the walls of my bathroom-shower (and thus also the toilet seat) with a liquid waterproofing membrane and mosaic tiles.
Of course, there are various possibilities for waterproofing surfaces, and the one I show you is not the only one that is viable. Therefore, in this article I decided to focus on creating the RV toilet, leaving the waterproofing part in the shower article.
That said, let us then proceed with the creation of the bathroom!
9. In the bathroom of my RV, I planned for the seat top to open to the side. To attach it to the lower floor, I used metric hinges, cut with jigsaw to the required length (49cm). This way, the top opens and closes as needed, and I can easily access the bins for maintenance.

10. This is the bathroom of my camper open and seen from above once all the containers were set up. Next to the bin for solid waste, I placed a tall, narrow bin to hold sawdust with which to cover the needs (it smells good wood!) and a place to hold toilet paper.

11. At the side of the containers, divided by a partition, I installed a small 12V computer fan that works continuously 24h. Fan consumption is minimal (<5ah/24hours) and installation is very simple (positive (+) and negative (-) cable direct to the fuse box.

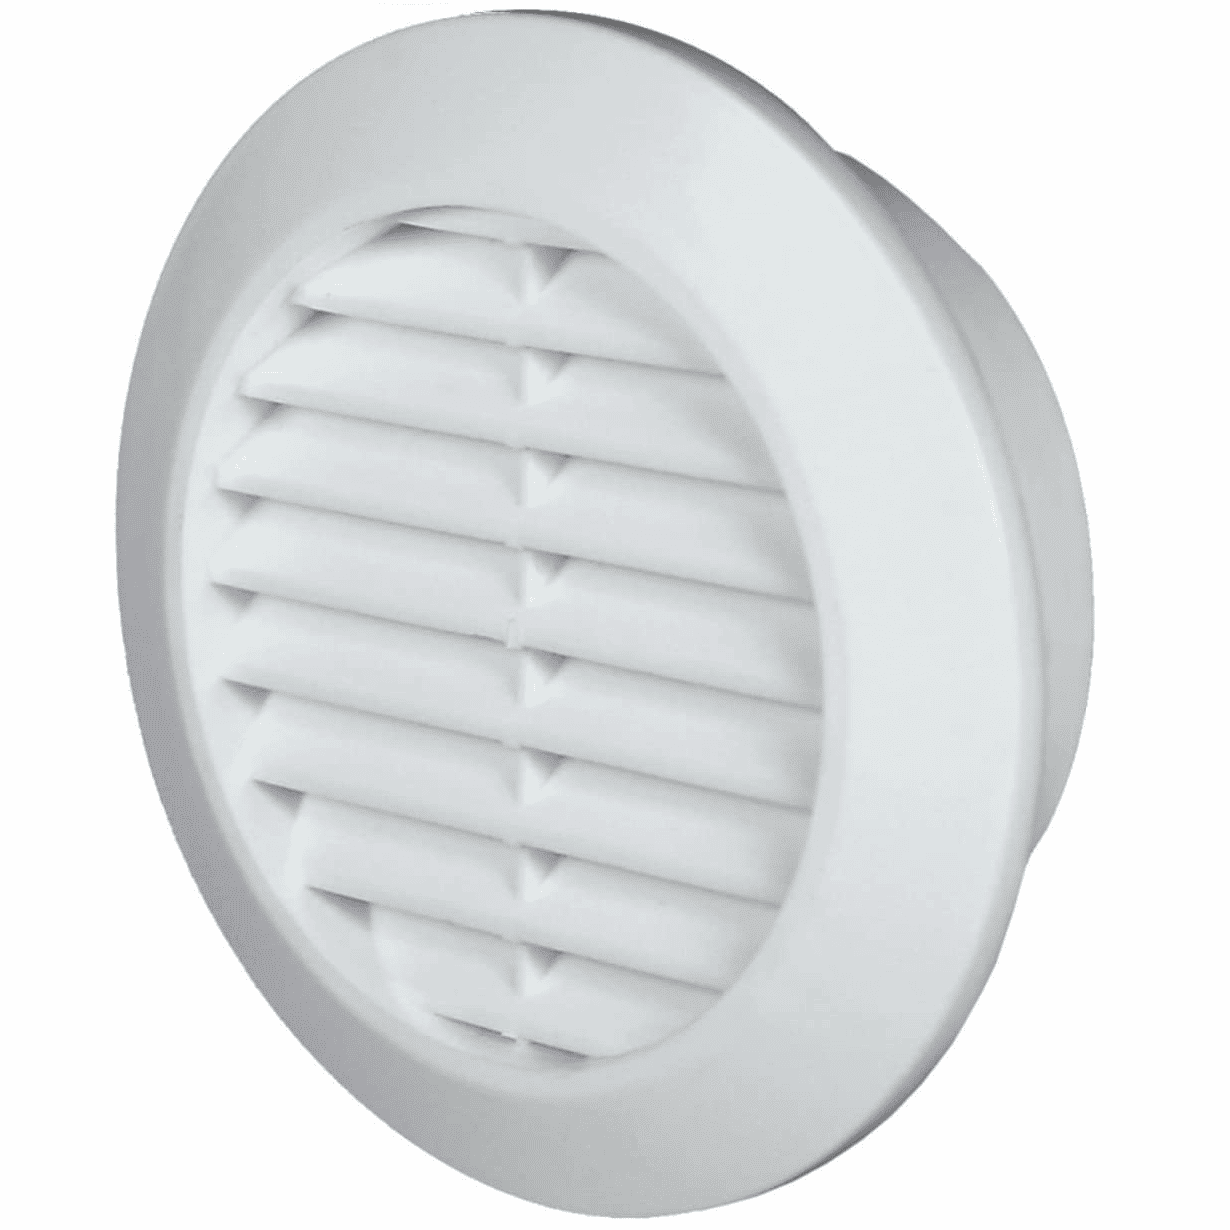
12. The small fan draws air from the waste containers and directs it to an air vent (60mm diameter) that I painted black, cut, and installed on the wall of my van. (If you want to know how to create install the vent, I recommend the article Installing the Service Revenue Guide. In this way, when the toilet lid is closed, the fan can suck in and push odors out of the 24-hour van.

13. This is the Do-It-Yourself bathroom in my van as seen from above with the seat open.
It is a very simple compostable toilet, yet at the same time very functional and easy to clean/dispose of.
The operation is the same as a Nature’s Head: liquids and solids are divided, while a small 12V fan sucks up odors and sends them outside the van.
When making solid waste, we cover it with dry sawdust (or if we run out and cannot get more locally, somecoconut humus of which we always have a few pieces in the trunk).
NOTE: Despite the name “compostable toilet,” in the time that organic waste is in your RV. there is really no time for your feces to be totally transformed into “compost.” Nevertheless, by using one biodegradable bag (or better yet, two! 😉 ) you are creating a potentially compostable mix that can be disposed of much more easily than chemical-containing blackwater.

14. This, on the other hand, is how my cabinet looks in normal conditions when the session is closed. I added a black knob to the seating surface to make it easier to open when needed.
As strange as it may seem seen from above, I can assure you that after trying it, it is almost impossible for anything to go in the wrong place (for both men and women). At first I admit that it is very strange (it feels like a cat with its own sandbox XD), but you get used to it quickly and after a few uses you don’t even notice it anymore.
NOTE: Obviously, we men also have to sit down to use a Compostable toilet.
NOTE2: If I went back, I would divide the toilet opening from the sawdust opening so that they could be opened independently. Currently, we leave the sawdust container outside the toilet when we know we will need it, but it is not the most convenient.

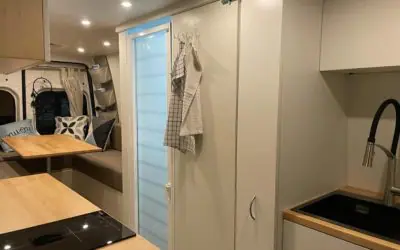
15. To finish off the bath-shower and have some privacy in times of need (haha), I decided to install this door to the bathroom of our camper.
It is a self-cleaning “roller” door that takes up very little space (it rolls up on itself when not in use). Assembly can be done in about 20 minutes (it’s all interlocking) and requires only a little acetic silicone to seal the bottom of the frame tightly with the edge of the shower tray.


With the door, the assembly of my bath-shower was finally completed. Studying it, finding the right materials, building it and waterproofing it took quite some time and effort, but in the end we are the result seemed more than satisfactory 🙂


NOTE:
After finishing the article, I further fixed our bathroom with white satin enamel (for better aesthetics) and added a retractable door. If you want more information about it, you can find it in the article on the
Do-It-Yourself Shower
🙂
BONUS. Video of Our Finished Compostable Toilet 🙂
4. Where to dump the Camper’s Black Water (and human waste)?

The question of where RV water should, should and can be discharged has been an open debate for a very long time where everyone seems to have their own opinion or belief.
To provide some clarity, let us assume that there are laws and they should all be followed. Then, between us, we say that in some cases the laws are far too restrictive and strict, and sometimes end up going beyond logic: suffice it to say that technically it would be prohibited to empty gray water (which is nothing more than soapy water) into the grates of a wash (where essentially soap ends up).
Personally, I think it is right to use your conscience and be responsible to the environment and to other people and to understand when a dumping can do harm to others or not . Before you do a dumping, I suggest you keep in mind that there are over 100,000 RVs in Europe. Think as if everyone did as you do, and understand whether it would be a problem or not.
Before we understand where to discharge our needs then, we need to understand some terminology:
- Blackwater: is the wastewater from chemical toilets (contains pee, poop, toilet paper, and antibacterial/disinfecting chemicals)
- Gray Water: gray water is wastewater from the sink and shower, but not from the bathroom. They normally contain artificial products such as soap, shampoo, detergent etc.
- Compostable Liquid Waste: it is simply the pee canister, without anything else.
- Solid Compostable Waste: the solid mix of compostable toilets (biodegradable bag, poop, sawdust and possibly coconut humus or similar products). This waste over time can be turned into fertilizer.
4.1 WHERE TO FLUSH THE BLACK WATER FROM THE CAMPER’S CHEMICAL TOILET?
Black water from the RV, including human feces and chemical breakdown agents, can be discharged:
- At the designated dumping areas(marked by the blue sign seen above or by the words “chemical toilet,” “camper serve,” or “equipped area”). Usually these areas are found at campgrounds, truck stops, or otherwise on main roads (sometimes free and sometimes for a fee). If you have a portable cistern toilet, you can simply carry it to the point of flushing. If, on the other hand, you have an RV with an automatic drain (under the van), you will have to carry it over special grates in order to dump it safely. To find the nearest dump point to you, I recommend downloading and installing the app
Caramaps
(read here if you are interested in learning more about Caramaps and other useful apps for traveling by RV:
The Best 15 Camper Travel Apps.
).
- In a regular toilet (e.g., the one at home or in a bar). However, this is only possible if the instructions of the chemicals you are going to use allow it (some products are even harmful to recycling systems!).
All other places, legislatively speaking, are off-limits and could bring you a big fine.
In fact, it is absolutely forbidden to discharge sewage (which, let us remember, contains chemicals) into rainwater drains or into the wild.
To see the black water flushing procedure (and the operation of a chemical toilet in general), I leave you with the
link to this video
by VanSweetFun, which I find really well done!
4.2 WHERE TO DISCHARGE GRAY WATER?
Gray water (also called “soapy” water) can be discharged:
- ideally, in a designated service area (such as black water)
- in a toilet
- In a Sink (where soaps, shampoos, and detergents can end up anyway).
- in the Grates (such as in the washing ones but not only, where other soaps end up anyway)
The products you use in an RV that can end up in gray water are essentially those you also use at home (shampoo, dishwashing liquid, toothpaste etc.). By knowing what you throw, you will also know better where to dump it.
4.3 WHERE TO DUMP LIQUID COMPOSTABLE WASTE?
Dumping the pee tank of a compostable toilet is really easy for the simple fact that there is exactly one and only pee in the container. That’s why you can dump it where you would normally pee:
- in a toilet
- among Plants (pee does not harm plants as you may think, but on the contrary is a source of nutrition)
- in a grid or a manhole
- roadside
- etc.
The important thing, of course, is.
Be civil and think about emptying in a place where it doesn’t bother anyone
: don’t throw your pee on private property, near other people, houses, vehicles, ornamental plants or anything else where their smell may harass people around.
4.4 WHERE TO DUMP SOLID COMPOSTABLE WASTE?
And here we come to thelast question: once the biodegradable bag with our feces and sawdust inside is closed, where can it be disposed of?
Here the issue is a bit complicated: feces can contain cholera bacteria and other viruses, so we need to be concerned that our human waste does not reach groundwater or other places where it might infect someone.
First of all, it is important that the bag is biodegradable: the most recommended materials are bioplastics and cornstarch.
Thus, the options for discarding the bag of solids once closed are:
- Put them in a Composting bin (you can keep one in your backyard if you have space, or know of some place in your municipality. Many campgrounds even have one).
- Throw the bag in a garbage can: garbage is composted and used as fertilizer, so putting the bag in a garbage can will allow it to get to the ideal place to be disposed of. (as in dog poop).
- In the absence of garbage cans, throw the Bag in a Garbage Can: just like dog poop, human feces can be disposed of in the garbage can (however, note that in this case it will not be composted and reused as compost).
- (More extreme solutions) Bury the Dead: If you are lost in the wilderness, you can dig a hole about ten inches deep and bury the bag. It will be disposed of within 2-3 months.
5. Conclusion
")
Having a bathroom on the RV is always helpful.
The best toilet model is the one that works for you: we all have different needs and tastes, and fortunately there are many options.
With this article, I hope I have given you a fairly complete picture of how RV bathrooms work.
Now it’s up to you whether you buy a chemical one, a compostable one, or try building your own entirely DIY!
As with all articles, I ask you to point out if you find any inaccuracies, contact me if you need more information, and leave a comment below if you want to share other useful information to enrich the article and help those who will read it after you.
And what bathroom did you choose? 😀
Thanks for reading, and see you in the next article!!! 🙂
PS. All the information about bathroom walls/tiling/shower can be found in the article on the
Do-It-Yourself Shower
🙂
PS. Below is a video of our finished DIY toilet, how we use it, and how we clean it ;D
BEFORE YOU GO, CAN I ASK YOU FOR SOME FEEDBACK?
Writing detailed articles like this takes a lot of time and effort..
If you liked it, can I ask you to leave me a feedback message in the comments at the bottom of the page?
For a content-creator, knowing that you are being read and that your efforts are useful to someone is the best motivation to keep writing and doing better 🙂
Let me know what you liked or what you think could be added.
If you’d like, you can also share the article to help other people find it!
Thanks for the help 🙂

Read the Van Conversion Guides

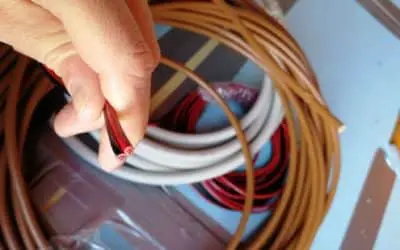
How to Calculate the Right Section of 12V Cables | EASY GUIDE
An undersized cable does not carry enough current. A cable that is too undersized can lead to a fire. An oversized cable, on the other hand, simply costs more and is a waste of money. Are you wondering what is the logicfor choosing one section of cable over...

Bluetti vs Ecoflow | Which is the Best Portable Power Station for RV/Vanlife?
The Portable Power Station is an increasingly used accessory on camper vans and RVs, but when does it really make sense to purchase and own or install one? In this article we try to shed some light on how these systems work, the best options on the market, and the...

Van Conversion DIY: How Much Does It Costs? | My Experience
How much does it cost an entirely DIY van to campervan conversion? The queen of all questions... In this article, I want to show you all the costs of my conversion from start to finish, so that you too can get an idea of what it might cost! ...
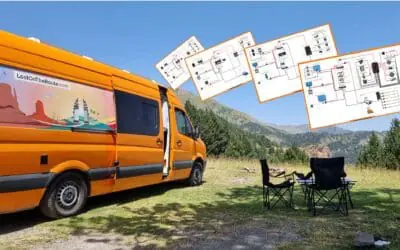
Van Electrical Diagrams for your DIY Project – Ready to Install
The Electrical System is often one of the most complicated steps in a DIY van conversion. How much energy is needed? What apparatus/devices to purchase? How to connect them? How much would it cost? These are all doubts and questions that normally everyone finds...

Van Interior Conversion: Best DIY Ideas for your Project!
The Interior Outfitting of a DIY converted van is both an aesthetic and structural choice. In this article, you will find useful information and inspiration ideas for customizing the Walls, the Ceiling, and the Floor of your Van! DIY CAMPERVAN SET-UP:...

Kitchen for Camper | Best DIY Ideas for your Van Conversion
Cooking in Camper is one of those things, that makes you feel at home wherever you are! Gas, Diesel or Electric Stove? What equipment and accessories you need on the Road? How much space do you need? How to assemble the kitchen in your Camper? In this article you will...

The Best Fridge for Your Campervan – Which One to Choose?
Buying a trivalent or compressor RV refrigerator? Horizontal or vertical? 12V or 110/220V? In this article you will find all the information you need to choose the best fridge for Your Van, tailored to your Needs! 🙂 THE REFRIGERATOR IN THE VAN:...
Van Conversion: How to Build a DIY Bed for your Camper Van
A Camper is not a Camper if it does not have a bed. Where to Sleep and... Dream! In this Guide you can find the inspiration you need for creating a DIY Bed in Your Campervan, And I'll show you step by step how I built a Complete Bed/Dinette on my VW Crafter....
Best 12V Fan for RV | DIY Installation Guide | Van Conversion
A Roof Fan helps keep your Vehicle's humidity under control and change stale air. In this guide you will find everything you need to know about mounting a Maxxfan Deluxe fan on the roof of YOUR van. ROOF FAN: WHAT IS IT FOR? Keeping an RV's...
How to Build a Shower in a Do-It-Yourself Camper
A Shower in the RV for some people is not necessary, for others it is a real necessity to be totally independent! In this guide I'll tell you how I built the shower of my converted van entirely Do-It-Yourself! INSTALLING A SHOWER IN A...
Complete Guide and Electrical Scheme for your D-I-Y Van Conversion
You dream of transforming your Campervan DIY and have never touched an electrical cable before? Or do you want to implement some changes to your Factory RV? In this guide you will find EVERYTHING (absolutely EVERYTHING!) you need to know to create the perfect DIY...
Converting a Van: How to Connect Electric Cables Without Mistaking
Want to know how to "connect" the electric cables in practice in a converted van? Stripping, Crimping, Wire Leads, Clamps, Tubing, Cable Ties and much more... You've come to the right place to learn All That! How to wire your van's electrical...


0 Comments